
Oh, I am SO excited to share my absolute favorite homemade Chocolate Oat Milk recipe with you! Honestly, once you try making this vibrant, creamy liquid yourself, you might never go back to store-bought again. It’s just something so satisfying about knowing exactly what’s in your glass, right? Plus, hello, it tastes WAY better than anything I’ve ever found in the carton. I started making my own plant-based milks years ago because I wanted to control the sugar and avoid all those weird gums and stabilizers. This chocolate oat milk is seriously a game-changer for my morning coffee and smoothies. It’s so simple, ridiculously delicious, and uses ingredients you probably already have. Trust me, get ready to fall in love!
Why You’ll Love This Chocolate Oat Milk
Seriously, why settle for store-bought when you can whip up something this amazing in your own kitchen? This chocolate oat milk is a total winner, and here’s why:
- Super Easy Peasy: Like, ridiculously easy. You’re just tossing a few things in a blender, straining, and voilà! It takes less time than brewing your morning coffee.
- Kind to Your Wallet: Oats are SO much cheaper than nuts, and water is free! Making this yourself saves a ton of money compared to buying fancy plant-based milks.
- Healthy & Happy: It’s naturally dairy-free, vegan, and you control exactly what goes in. No weird fillers or extra sugar unless you want them! It’s perfect for anyone who’s lactose intolerant or just looking for a cleaner option.
- Tastes Like a Dream: Forget any chalky or bland plant milks you’ve tried. This chocolate oat milk is rich, creamy, and has that perfect chocolatey goodness you crave. It’s honestly miles better than anything from a carton!
Ingredients for Perfect Chocolate Oat Milk
Alright, let’s talk ingredients because this is where the magic really starts! You’ll be shocked at how few things you need for this super yummy Chocolate Oat Milk. I always try to use good quality stuff because it really does make a difference. You’ll need:
- 1 cup rolled oats: Make sure these are rolled oats, not steel-cut or instant, okay? Rolled oats give you the best, creamiest texture.
- 4 cups water: Just plain old water is perfect here.
- 2 tablespoons unsweetened cocoa powder: This is for that rich chocolate flavor. You can use cacao powder too if you have it!
- 1-2 tablespoons maple syrup, or to taste: This is where you can totally customize the sweetness. I usually start with one tablespoon and add more if I feel like it. You can also use agave or even a couple of pitted dates if you’re feeling fancy!
- 1/2 teaspoon pure vanilla extract: This little bit of vanilla really rounds out the chocolate flavor beautifully. Don’t skip it!
- A pinch of salt: Seriously, just a tiny pinch. It sounds weird, but it makes the chocolate flavor pop!
See? So simple! Having these on hand means you can whip up a batch whenever the craving strikes.
Equipment Needed for Homemade Chocolate Oat Milk
Making your own chocolate oat milk is super simple, and you probably have most of the things you need already! You’ll just want a good blender – high-speed works best to really break down those oats. Then, you’ll need a fine-mesh sieve or some cheesecloth for straining all that lovely liquid. Grab a nice big bowl or a pitcher to strain into, and another one or a clean jar for storing your finished creation. That’s it, really!
Step-by-Step Guide to Making Chocolate Oat Milk
Alright, let’s get this deliciousness made! Honestly, it’s so fast you’ll wonder why you ever paid good money for the store-bought stuff. Just follow these super simple steps, and you’ll have creamy, dreamy chocolate oat milk ready in minutes. It’s amazing in coffee, smoothies like this banana blueberry breakfast smoothie, or even just on its own!
Blending the Oats and Water
First things first, grab your blender and dump in the rolled oats and the water. Now, this is important: blend it up really well! I like to go for about 30 to 60 seconds on high speed. You want those oats to break down nicely – you’ll see it get all frothy. Don’t overdo it and turn it into actual oat paste, but make sure it’s smooth!
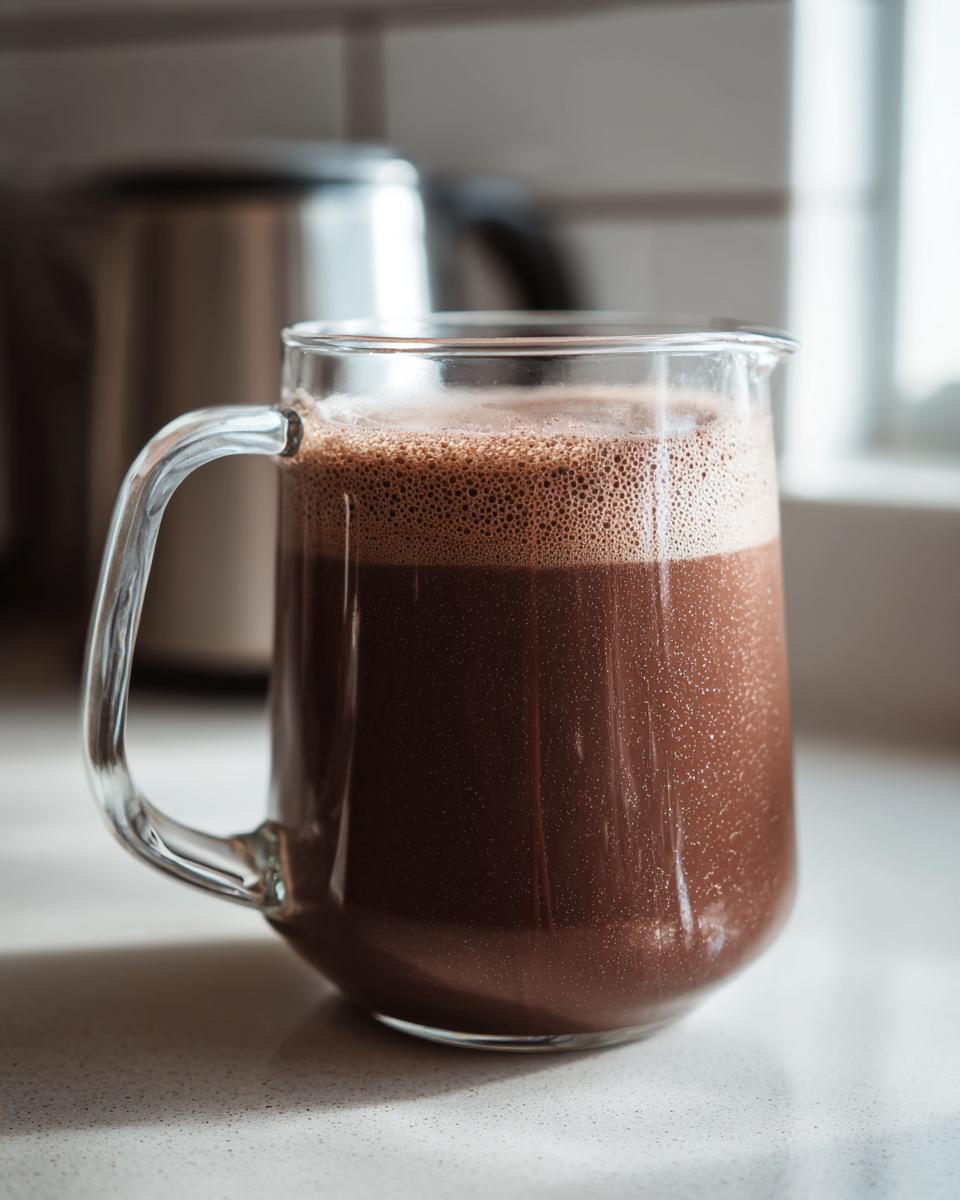
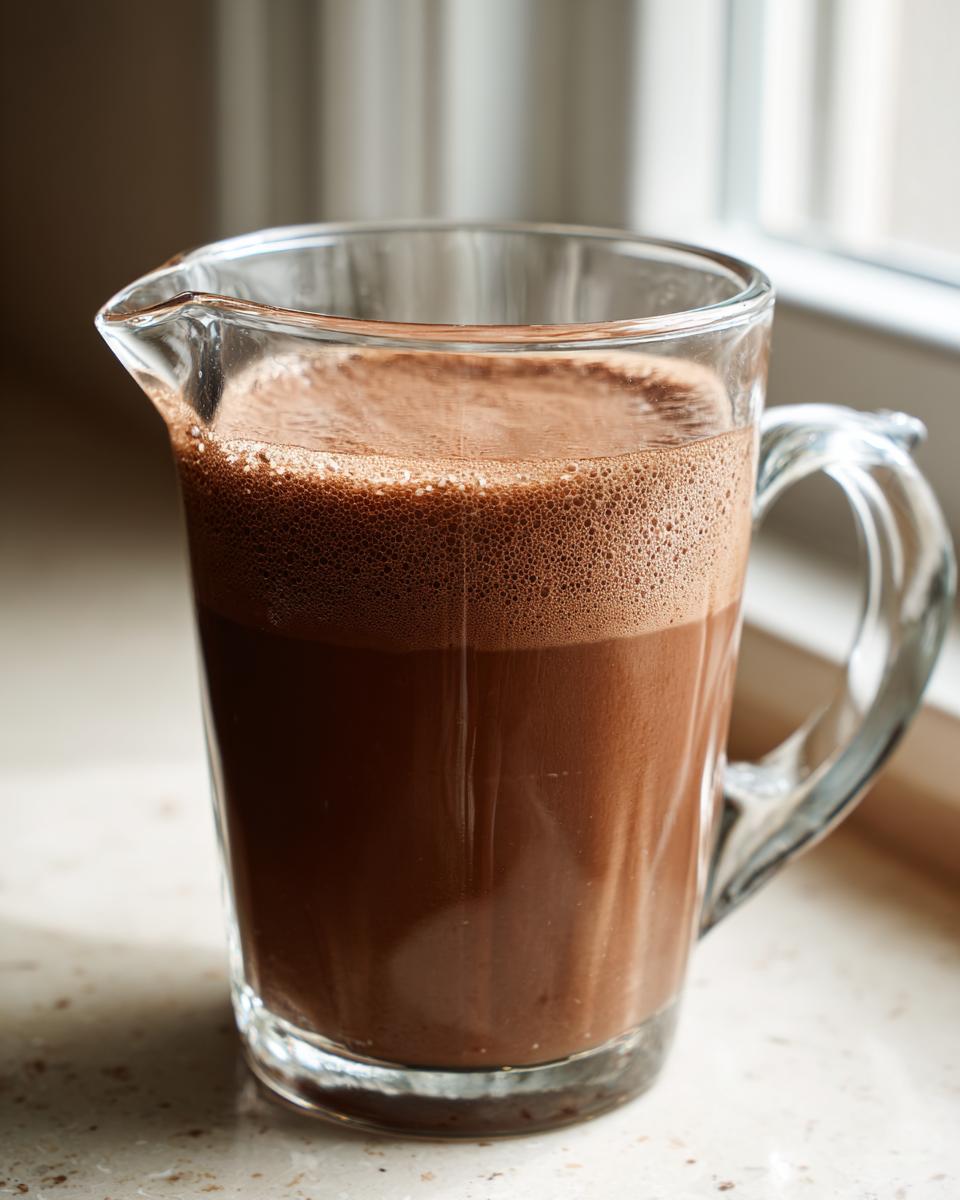
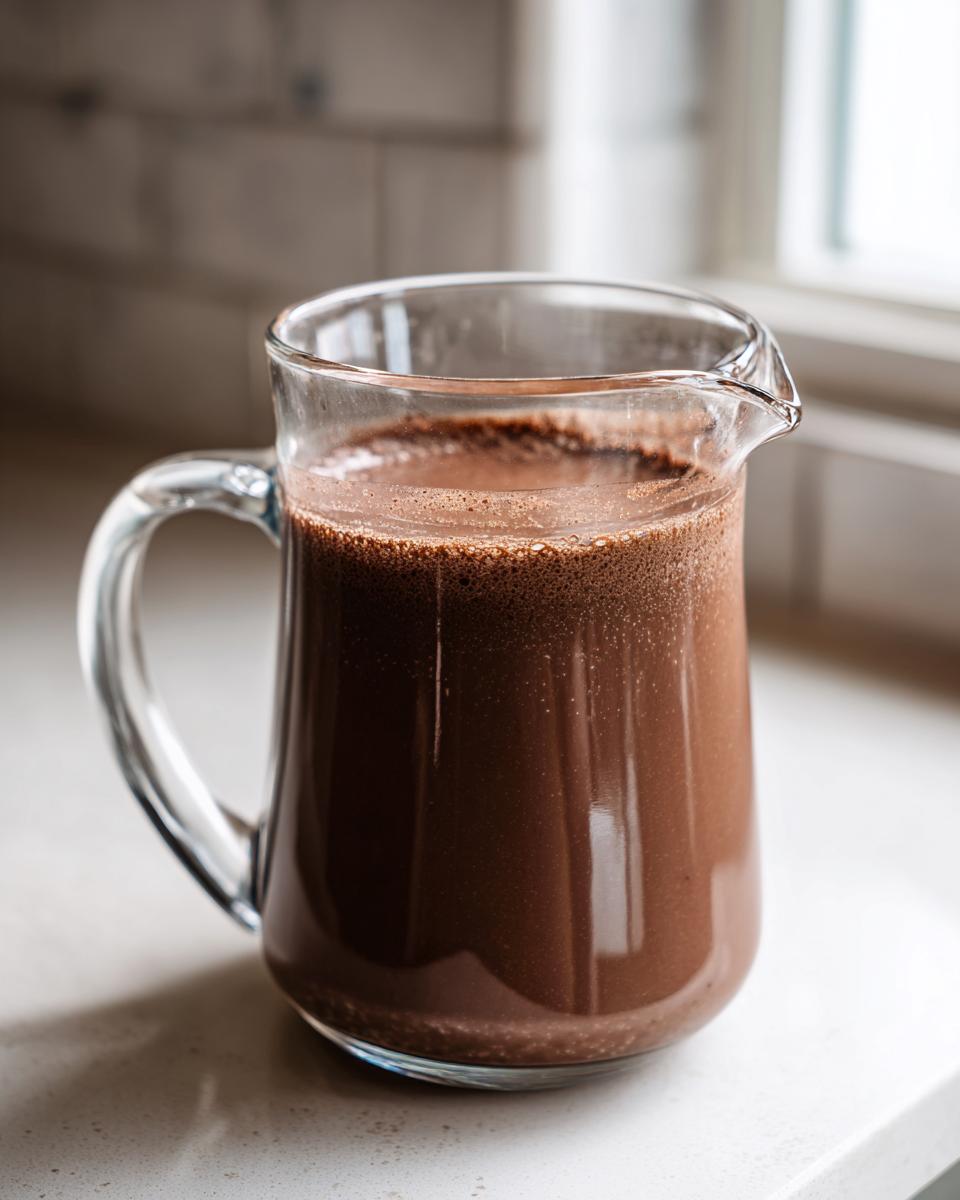
Straining for Smooth Chocolate Oat Milk
This is kind of the fun part where you’re turning that blended mixture into actual milk! Get a bowl and place your fine-mesh sieve over it. If you want it *super* smooth, like cafe-level smooth, I totally recommend lining the sieve with some cheesecloth or a nut milk bag. Pour the oat mixture through the sieve, letting all the liquid drain into the bowl. You might need to give it a little stir to help it along. What’s left in the sieve is oat pulp – it’s totally edible! You can toss it into smoothies, oatmeal, or even use it for baking if you want to reduce waste. It’s also great for using up any leftovers when making something like a creamy strawberry oat smoothie.

Adding Flavor and Sweetness
Okay, now for the best part – making it taste like heaven! Add your cocoa powder, maple syrup (start with one tablespoon and taste it later before adding more!), that lovely vanilla extract, and that tiny pinch of salt right into the strained oat milk. Give it a good whisk or even just a quick pulse in the blender again to combine everything. Taste it now and see if you want it sweeter. Add more maple syrup, a little at a time, until it’s just right for YOU!
Tips for the Best Chocolate Oat Milk
Making this chocolate oat milk is already a total breeze, but here are a few little things I’ve learned over the years that make it even better. These little tweaks will take your homemade milk from good to absolutely incredible! First off, make sure you’re using **rolled oats**. Quick oats or instant oats can get a bit slimy, and nobody wants that! Trust me, I learned that the hard way when I was in a rush once. Also, don’t over-blend after straining, or you might end up with that same slimy texture. A quick whisk or a super-short blend is all you need to get that cocoa and sweetener mixed in. Oh, and if you think your milk is a little too thick? Just whisk in a splash more water until it’s perfect. It’s like making iced tea – small adjustments make a big difference!
Ingredient Notes and Substitutions for Chocolate Oat Milk
Picking the right ingredients is key to making this chocolate oat milk taste amazing! For the oats, please, please, *please* use **rolled oats** (they’re sometimes called old-fashioned oats). They give you that perfect creamy texture without any sliminess. If you use quick oats, you might find your milk gets a bit… well, gummy. Nobody wants that! For the sweetener, maple syrup is my go-to because it adds a lovely subtle flavor, but if you don’t have it, don’t sweat it! You can absolutely use agave nectar, honey (if you’re not strictly vegan), or even about 2-3 pitted Medjool dates blended in with everything else for a natural sweetness. If you’re swapping cocoa for cacao powder, know that cacao is a bit more intense and less sweet, so you might want to add a touch more sweetener.
Storage and Reheating Instructions
Now that you’ve made this gorgeous chocolate oat milk, you’ll want to keep it fresh! Just pop it into an airtight container or a clean jar and keep it in the fridge. It stays lovely and delicious for about 3 to 4 days. Since it’s homemade, you won’t have all those stabilizers store-bought milk has, so it might separate a bit – that’s totally normal! Just give it a good shake before you pour, and it’ll be good as new. Honestly, it’s so good, I doubt it’ll even last that long!
Frequently Asked Questions about Chocolate Oat Milk
Got questions about whipping up this dreamy chocolate oat milk? I totally get it! Making things from scratch can bring up a few queries, but don’t worry, I’ve got you covered. Here are some of the things people ask most often.
Can I make this without a high-speed blender?
Absolutely! While a high-speed blender makes it super smooth, you can totally manage with a regular blender. Just blend for a bit longer, maybe even 60-90 seconds, until you feel those oats are really broken down. It might be *slightly* less creamy than using a super-powered blender, but it’ll still be delicious! You could also try soaking your oats in water for about 30 minutes before blending to help them break down easier.
What can I use the oat pulp for?
Ooh, don’t throw that pulp away! It’s basically fiber-rich oat flour. I love stirring it into my morning oatmeal to make it extra thick and hearty. You can also add it to baked goods like muffins or cookies for a little extra texture and nutrition. Or, if you’re feeling adventurous, add a spoonful to a smoothie! It’s a great way to reduce food waste and get more goodness out of your oats.
Why is my oat milk slimy?
Ugh, the dreaded sliminess! This usually happens for one of two reasons: either you’ve used quick oats instead of rolled oats, or you’ve over-blended the mixture after straining. Creamy is good, slimy is not! Try to use rolled oats and only give the milk a very brief blend (or just a good whisk) after adding the cocoa and sweetener to combine everything. It makes all the difference!
Can I make it sugar-free?
You sure can! If you want to keep it sugar-free, just skip the maple syrup entirely. The cocoa powder will add some flavor, but it won’t be sweet at all. If you find that too plain, you could try adding a sugar-free sweetener like erythritol or stevia, but you’ll need to adjust the amount to your liking, as they can be quite potent. Just be aware that without some form of sweetener, the flavor profile will be much less dessert-like.
Nutritional Information
Okay, so bear in mind these numbers are just estimates because everyone’s exact ingredients and measurements can vary a bit, right? This is for about a 1-cup serving, assuming you used 1 tablespoon of maple syrup and unsweetened cocoa. Making your own Chocolate Oat Milk is a healthier choice, but the exact values depend on your cocoa and sweetener!
Chocolate Oat Milk
- Total Time: 5 min
- Yield: 4 cups 1x
- Diet: Vegan
Description
A simple recipe for homemade chocolate oat milk.
Ingredients
- 1 cup rolled oats
- 4 cups water
- 2 tablespoons cocoa powder
- 1–2 tablespoons maple syrup, or to taste
- 1/2 teaspoon vanilla extract
- Pinch of salt
Instructions
- Combine rolled oats and water in a blender. Blend on high speed for 30-60 seconds until oats are finely ground.
- Strain the mixture through a fine-mesh sieve or cheesecloth into a bowl or pitcher. Discard the pulp.
- Add cocoa powder, maple syrup, vanilla extract, and salt to the oat milk.
- Whisk or blend briefly until well combined.
- Taste and adjust sweetness if needed.
- Chill before serving.
Notes
- For a richer flavor, you can add a pitted date or two during blending.
- Store in an airtight container in the refrigerator for up to 3-4 days.
- Shake well before each use as separation may occur.
- Prep Time: 5 min
- Cook Time: 0 min
- Category: Beverage
- Method: Blending
- Cuisine: General
Nutrition
- Serving Size: 1 cup
- Calories: 150
- Sugar: 10g
- Sodium: 100mg
- Fat: 3g
- Saturated Fat: 0.5g
- Unsaturated Fat: 2.5g
- Trans Fat: 0g
- Carbohydrates: 28g
- Fiber: 3g
- Protein: 4g
- Cholesterol: 0mg
Keywords: chocolate oat milk, homemade oat milk, vegan milk, dairy-free milk, plant-based milk, cocoa oat milk