
Okay, friends, gather ’round because we’re about to unlock one of the most foundational, yet totally game-changing, kitchen secrets: Simple Syrup! Seriously, this stuff is a godsend. Whether you’re trying to whip up fancy cocktails, sweeten your morning coffee just right, or make sure your cakes and cookies have that perfect tender crumb, this liquid gold is the unsung hero. The best part? Making it yourself is ridiculously easy, and you have total control over how sweet or not-so-sweet you want it. I remember one time, I was making margaritas for a party and totally ran out of store-bought sweetener. My guests were already arriving, but boom! A few minutes later, I had a fresh batch of homemade simple syrup ready to go, and nobody was the wiser. True story! I’ve tinkered with this recipe for years, perfecting it for everything from delicate pastries to robust iced teas, and trust me, once you make it yourself, you’ll never go back to the store-bought stuff again.
Why You’ll Love This Simple Syrup Recipe
Honestly, if you’re looking for a recipe that’s easy, effective, and just plain brilliant, this is it! Here’s why this simple syrup is about to become your new best friend in the kitchen:
- It’s Super Quick: Seriously, we’re talking about less than 10 minutes from start to finish. Perfect for when you need a sweetener now.
- Only Two Ingredients! Yep, just sugar and water. You probably already have them in your pantry, no fancy grocery runs needed.
- So Versatile: Use it for cocktails, coffee, tea, drizzling over fruit, making sorbet, moistening cakes… the list is endless!
- Save Some Dough: Making your own simple syrup is way cheaper than buying those little bottles from the store. Your wallet will thank you!
- You’re in Charge: Want it sweeter? Want it less sweet? Total control is yours. Plus, you know exactly what’s in it – no weird additives!
Essential Ingredients for Perfect Simple Syrup
You really only need two things to make classic simple syrup, and chances are, you’ve got them sitting in your pantry right now!
- 1 cup granulated sugar: Use regular white granulated sugar. It dissolves beautifully and creates that clean, sweet taste we’re after.
- 1 cup water: Good old tap water is just fine here. No need for anything fancy!
Trust me, the magic is in the simplicity, and using these two basics ensures a pure, perfectly balanced syrup every time.
How to Make Simple Syrup: Step-by-Step Guide
Making simple syrup is honestly one of the easiest things you can do in the kitchen, and it feels like such a cheat code for making drinks and desserts amazing. Just follow these super simple steps, and you’ll have liquid sweetness ready in no time!
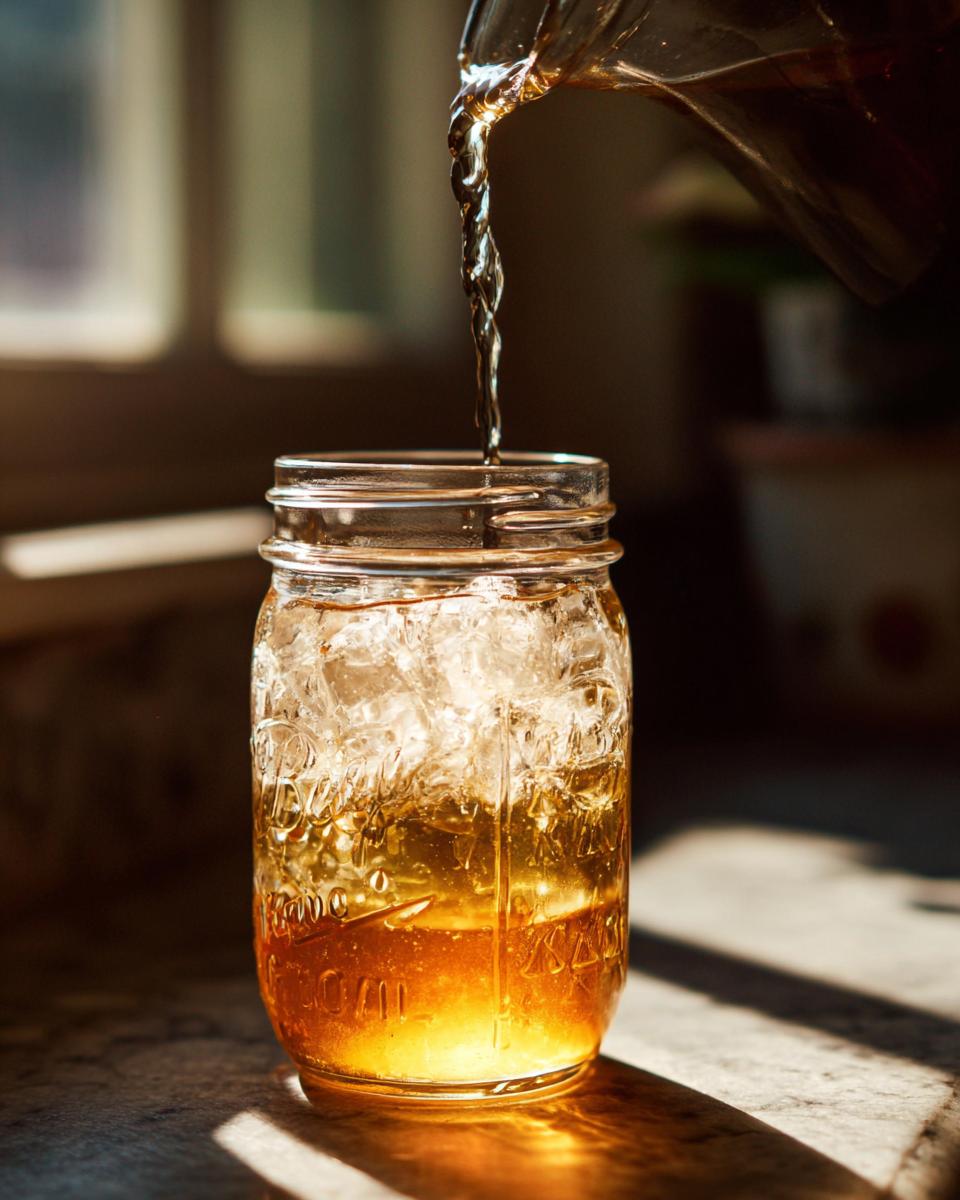
Combining Ingredients for Simple Syrup
First things first, grab a sturdy saucepan. You’re going to pour in one cup of granulated sugar and then add one cup of water right on top. This 1:1 ratio is the classic, and it’s what gives you that perfectly balanced sweetness for most recipes.
Heating and Dissolving Sugar for Simple Syrup
Pop that saucepan onto your stove over medium heat. Now, here’s the important part: stir it gently and continuously. You want all that sugar to dissolve completely. Keep stirring until the liquid looks clear and you don’t see any sugar granules at the bottom. Try not to let it boil too hard; just a gentle simmer is perfect. You’re aiming for pure dissolved sugar, not candy!

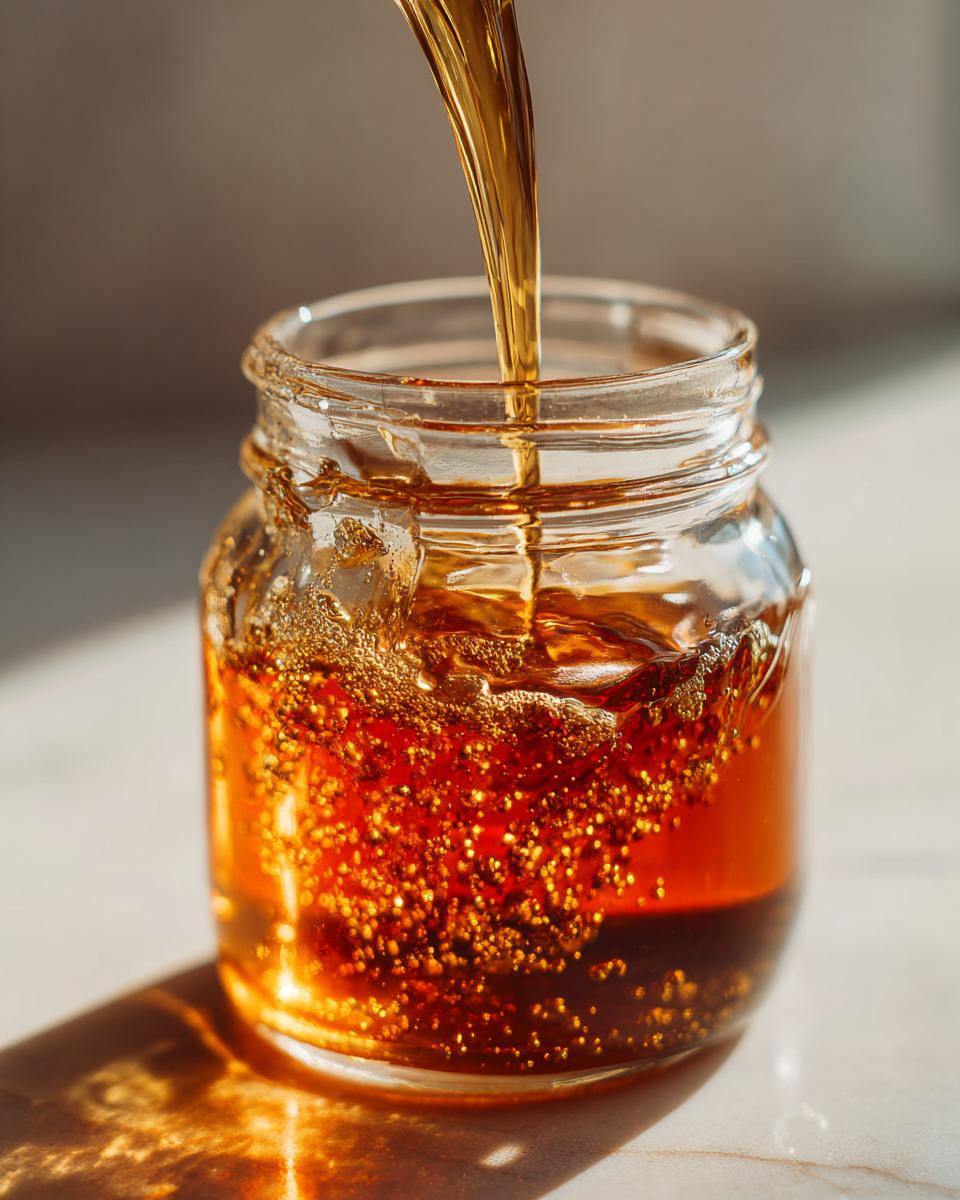
Cooling Your Simple Syrup
Once all the sugar is dissolved and the syrup looks clear, carefully take the pan off the heat. Let it sit and cool down completely. This can take a little while, so be patient! If you’re in a crazy hurry, you can speed things up by placing the saucepan in a larger bowl filled with ice water, but usually, just letting it rest on the counter is fine.
Tips for the Best Simple Syrup
Even something as basic as simple syrup can have little secrets that make it extra special. So, here are my go-to tricks to make sure yours turns out perfectly clear and wonderfully sweet every single time. First off, don’t rush the dissolving part! Stir until it’s really clear. If you see any little sugar specks clinging to the bottom, keep stirring or heat it just a smudge longer. A cool trick for super-clear syrup is to gently skim off any foam that might form while it’s heating – not essential, but it makes it look so professional! Also, avoid adding cold water to hot syrup; that’s a one-way ticket to crystallization. And my personal peeve? Over-boiling. It can make your syrup a tad darker than you want, and honestly, it’s unnecessary. For a perfectly clean finish, just stir until dissolved and then cool it gently. Easy peasy!
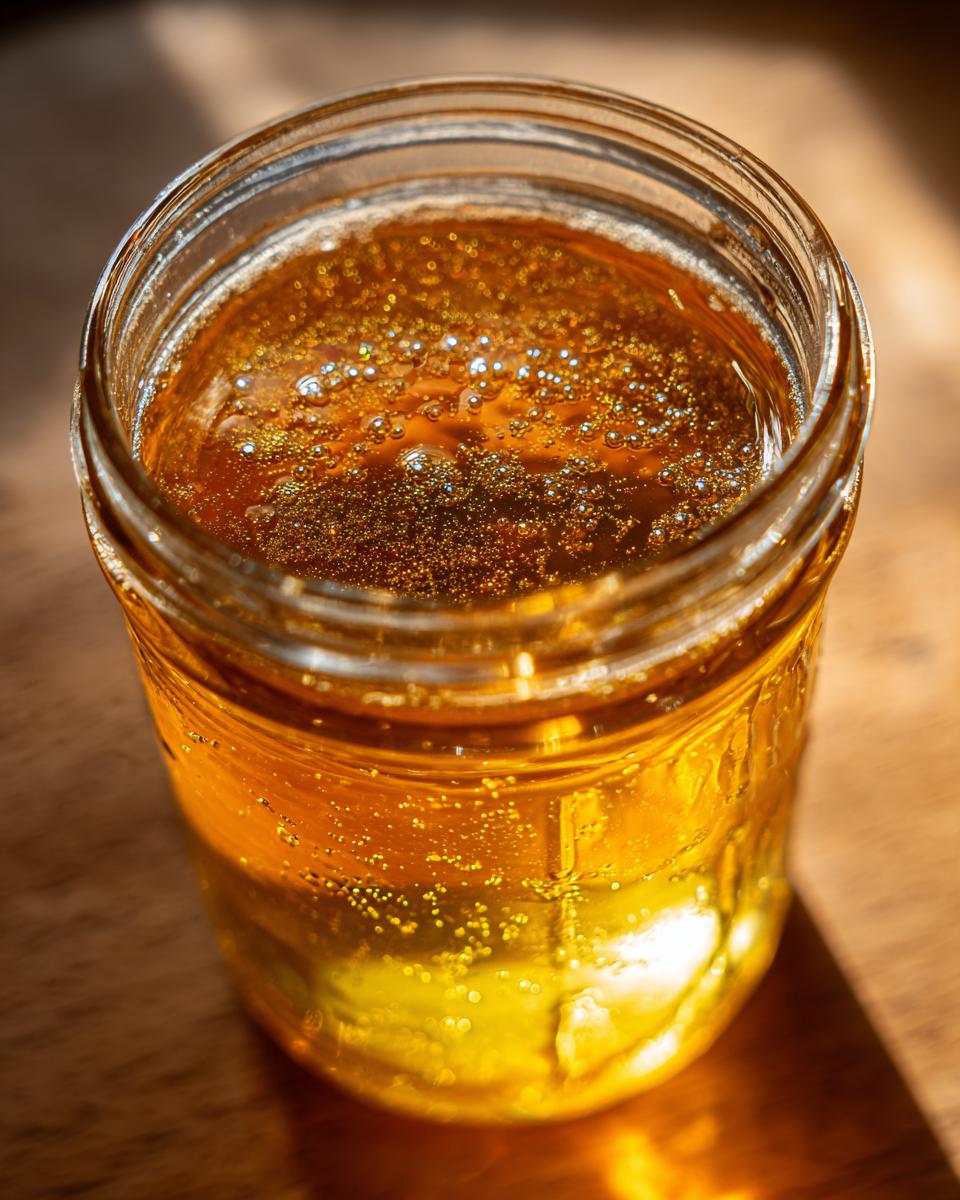
Storing and Using Your Simple Syrup
Okay, so you’ve made this magical simple syrup – now what? Storing it is super easy! Just pour it into a clean, airtight container. A mason jar with a lid works perfectly, or even a sturdy plastic bottle. Pop it in the fridge, and it’ll last for a good 3-4 weeks, trust me! It’s fantastic for sweetening your coffee, your cocktails, or your mocktails. But don’t stop there! It’s also amazing for drizzling over pancakes, sweetening fruit salads, or even making homemade ice pops. Basically, anywhere you need a little liquid sweetness, this stuff is your go-to!
Variations and Flavored Simple Syrup
Okay, so while basic simple syrup is pretty awesome on its own, where it gets really fun is when you start playing around with flavors! Honestly, you can infuse almost anything into it. Want a bright, fresh hit for your lemonade? Throw in some fresh mint or basil while it cools – just strain them out before storing. Feeling cozy? A cinnamon stick or a split vanilla bean steeping in the warm syrup before it cools adds this incredible warmth. I made a batch with some orange and lemon zest the other day, and it was divine in my gin fizz. You can even steep coffee beans for a chicory-free coffee syrup that’s perfect for your morning brew or an espresso martini! It’s great in drinks like a Spiced Apple Cider Bourbon Cocktail or to sweeten up a Ginger Peach Mule. Just add your flavorings to the hot syrup after you take it off the heat and let them hang out until it cools down. Strain everything out, and boom – instant upgrade!
Frequently Asked Questions About Simple Syrup
Got questions about this magical liquid? I’ve got answers! Here are some things people often ask me about making and using simple syrup.
Can I use a different type of sugar for simple syrup?
You can, but I really recommend sticking to granulated white sugar for the classic version. Different sugars have more molasses or impurities, which can change the color and flavor. For instance, brown sugar will give you a darker, caramel-y syrup, and while that’s delicious for some things, it’s not a “simple” syrup anymore! Raw sugars might not dissolve as cleanly either. Stick with the white stuff for predictable, pure sweetness.
How long does simple syrup last?
If you store it properly in a clean, airtight container in the fridge, your basic 1:1 simple syrup should last for about 3 to 4 weeks. The high sugar content acts as a preservative, which is pretty neat! If you make a richer 2:1 syrup (more sugar than water), it can last even longer, sometimes up to 6 months, because there’s even less water for anything to grow in. Always give it a quick sniff and look before using – if it looks cloudy or smells “off,” it’s time to toss it.
What’s the difference between 1:1 and 2:1 simple syrup?
Great question! The numbers refer to the ratio of sugar to water. So, a 1:1 simple syrup uses equal parts sugar and water (like one cup of each, which is what this recipe uses!). This makes a standard, versatile syrup. A 2:1 simple syrup uses twice as much sugar as water (two cups of sugar to one cup of water). This richer syrup is much sweeter, thicker, and lasts way longer in the fridge. It’s fantastic for cocktails where you want less liquid dilution but still need that sweetness. You just need to be careful not to overdo it because it’s seriously potent!
Can I make simple syrup without heating it?
You can, but it’s not really ideal for a true “simple syrup”! You could try dissolving sugar in cold water, but it takes ages and you rarely get it fully dissolved. The heat is what helps break down the sugar crystals so they incorporate smoothly into the water. It’s only a few minutes of heating, so I really recommend just doing the stovetop method for the best results. Plus, heating it helps make sure everything is clean and ready to store!
Nutritional Information
Just a heads-up, this information is an estimate, you know, because everyone’s kitchen is a little different! But generally, if you’re serving yourself about a tablespoon of this lovely simple syrup, here’s what you can expect:
- Serving Size: 1 tbsp
- Calories: Around 50
- Sugar: About 13g (Yep, it’s basically liquid sugar, which is why it’s so great at sweetening things!)
- Carbohydrates: Also around 13g
- Sodium: 0mg (Unless your tap water is super weird!)
- Fat: 0g
- Saturated Fat: 0g
- Unsaturated Fat: 0g
- Trans Fat: 0g
- Fiber: 0g
- Protein: 0g
So, yeah, it’s pretty much pure sweetness! Use it wisely, but don’t feel too guilty – it’s the simplest way to add a touch of delicious to your favorite drinks and treats.
Print
Simple Syrup
- Total Time: 7 min
- Yield: Approximately 1.5 cups 1x
- Diet: Vegetarian
Description
A basic sweetener for beverages and desserts.
Ingredients
- 1 cup granulated sugar
- 1 cup water
Instructions
- Combine sugar and water in a saucepan.
- Heat over medium heat, stirring until the sugar dissolves completely.
- Remove from heat and let cool.
- Store in an airtight container.
Notes
- For a richer syrup, use a 2:1 sugar to water ratio.
- Infuse with herbs or spices for flavored syrups.
- Prep Time: 2 min
- Cook Time: 5 min
- Category: Baking
- Method: Stovetop
- Cuisine: General
Nutrition
- Serving Size: 1 tbsp
- Calories: 50
- Sugar: 13g
- Sodium: 0mg
- Fat: 0g
- Saturated Fat: 0g
- Unsaturated Fat: 0g
- Trans Fat: 0g
- Carbohydrates: 13g
- Fiber: 0g
- Protein: 0g
- Cholesterol: 0mg
Keywords: simple syrup, sugar syrup, sweetener, cocktail ingredient, baking ingredient