
Okay, so let’s talk about drinks! While I love a good chai or a refreshing lassi, there’s something truly special about traditional Indian beverages. And when you add fermentation into the mix? Magic happens! Today, I’m spilling the beans on my favorite recipe for kanji drink. Have you ever heard of it? It’s this vibrant, tangy, slightly spicy fermented drink made from carrots and beetroot that’s super popular in North India, especially during winter.
The first time I tried Kanji, I was totally blown away! It’s not sweet like juice, but it has this incredible depth of flavor – earthy from the veggies, a little kick from the mustard, and that wonderful tang from the fermentation. It’s also known as a fantastic digestive, which is a bonus! Trust me, making your own Kanji at home is surprisingly easy, and the payoff is huge. Get ready to add a seriously cool and healthy drink to your repertoire!

Why You’ll Love This Recipe for Kanji Drink
So, why should you dive into making this vibrant Kanji? Honestly, there are so many reasons! It’s not just a drink; it’s an experience. Here’s why I’m absolutely obsessed with this recipe for kanji drink:
- Unique Flavor Bomb: It’s tangy, a little salty, slightly pungent, and just so refreshing. Nothing else tastes quite like it!
- Super Gut-Friendly: Being a fermented drink, it’s packed with good-for-you probiotics that your tummy will thank you for.
- Surprisingly Simple: Don’t let the “fermented” part scare you! It’s mostly hands-off time, letting nature do its thing.
- A Taste of Tradition: You’re literally making a piece of Indian culinary history right in your own kitchen. How cool is that?!
The Tangy Twist of a Homemade Kanji Drink
Forget your usual sweet sodas or plain water. This Kanji drink brings a whole new level of zing and zest to your palate! The fermentation process gives it this incredible, complex sourness that’s perfectly balanced by the earthy carrots and a hint of spice. It’s truly a game-changer for anyone looking for something different and delicious.

Essential Ingredients for Your Kanji Drink
Alright, let’s get down to the nitty-gritty: what you’ll need to make this incredible Kanji drink. The beauty of this recipe is its simplicity; we’re talking about a handful of basic ingredients that transform into something truly magical. Trust me, getting these right is key to that authentic flavor!
- 1 kg black carrots (or 500g red carrots and 500g beetroot): These are our stars! You’ll want them washed, peeled, and cut into 2-inch long, thin strips. The black carrots give that signature deep purple color and a slightly earthier taste, but the red carrot and beetroot combo works beautifully too.
- 2 liters filtered water: Simple, clean water is important here. We want to avoid any chlorine or impurities that might mess with our fermentation friends.
- 2-3 tbsp black salt (kala namak): This isn’t just regular salt! Black salt has a unique, slightly sulfurous taste that is absolutely essential for authentic Kanji. It brings that tangy, savory depth. Start with 2 tablespoons and you can always adjust later.
- 1-2 tbsp mustard powder (rai powder): This is where the subtle pungency and warmth come from. It also plays a role in the fermentation process. Again, start with 1 tablespoon and add more if you like a stronger kick.
- 1 tsp asafoetida (hing): Just a tiny pinch makes a big difference! Asafoetida adds a savory, umami note that really rounds out the flavors. Don’t skip it if you can help it!
Selecting the Best Produce for a Perfect Kanji Drink
When you’re out shopping for your carrots and beetroot, think fresh, firm, and vibrant! You want carrots that snap when you break them and beetroot that feels heavy for its size, with no soft spots. If you can find black carrots, grab them! They give the most traditional color and a unique flavor. But don’t fret if you can’t; a mix of regular red carrots and some beetroot will still give you that gorgeous color and delicious taste. Just make sure whatever you choose, it’s super fresh!
Crafting Your Own Kanji Drink: Step-by-Step Instructions
Okay, so you’ve got all your amazing ingredients ready – great job! Now comes the fun part: bringing it all together to create your very own batch of tangy, delicious Kanji. Don’t worry, it’s really straightforward, and I’ll walk you through each step. Just remember, the biggest ingredient here is a little bit of patience, but trust me, it’s totally worth it!
- Prep Your Veggies: First things first, give those carrots and beetroot a good wash. Then, peel them carefully. Once they’re clean and naked, slice them into nice, thin strips, about 2 inches long. Think matchsticks, but a little chunkier. This size helps them ferment beautifully and release all their lovely color and flavor.
- Combine Everything in Your Jar: Grab a large, clean glass jar or a ceramic pot. This is where the magic will happen! Pop all your sliced carrots and beetroot into the jar. Now, pour in your filtered water, and then add the black salt, mustard powder, and that tiny pinch of asafoetida.
- Give it a Good Stir: Using a clean spoon (super important for fermentation!), stir everything really well. You want to make sure the salt and spices are fully dissolved and evenly distributed throughout the water and around all the veggie strips.
- Cover Loosely: This is crucial! Don’t seal the jar tightly. You want air to circulate, so cover it loosely with a clean cloth, a piece of cheesecloth, or even just the lid resting gently on top. This lets the good bacteria do their work without suffocating them.
- Find a Sunny Spot: Place your jar in a nice, sunny spot. A windowsill is perfect! This warmth encourages the fermentation process.
- Stir Daily: Now, for the daily ritual! Once a day, give the mixture another good stir with your clean spoon. This helps prevent mold and keeps the fermentation even.
- Taste and Wait: Your Kanji will be ready in about 3 to 7 days, depending on how warm it is. Start tasting it daily after day 3. You’re looking for a tangy, slightly pungent flavor. It should taste pleasantly sour, not just salty.
- Strain and Chill: Once it’s perfect to your liking, strain the Kanji into clean bottles. You can discard the solids (or get creative and use them in a stir-fry, though they’ll be quite sour!). Then, pop your bottled Kanji into the fridge.
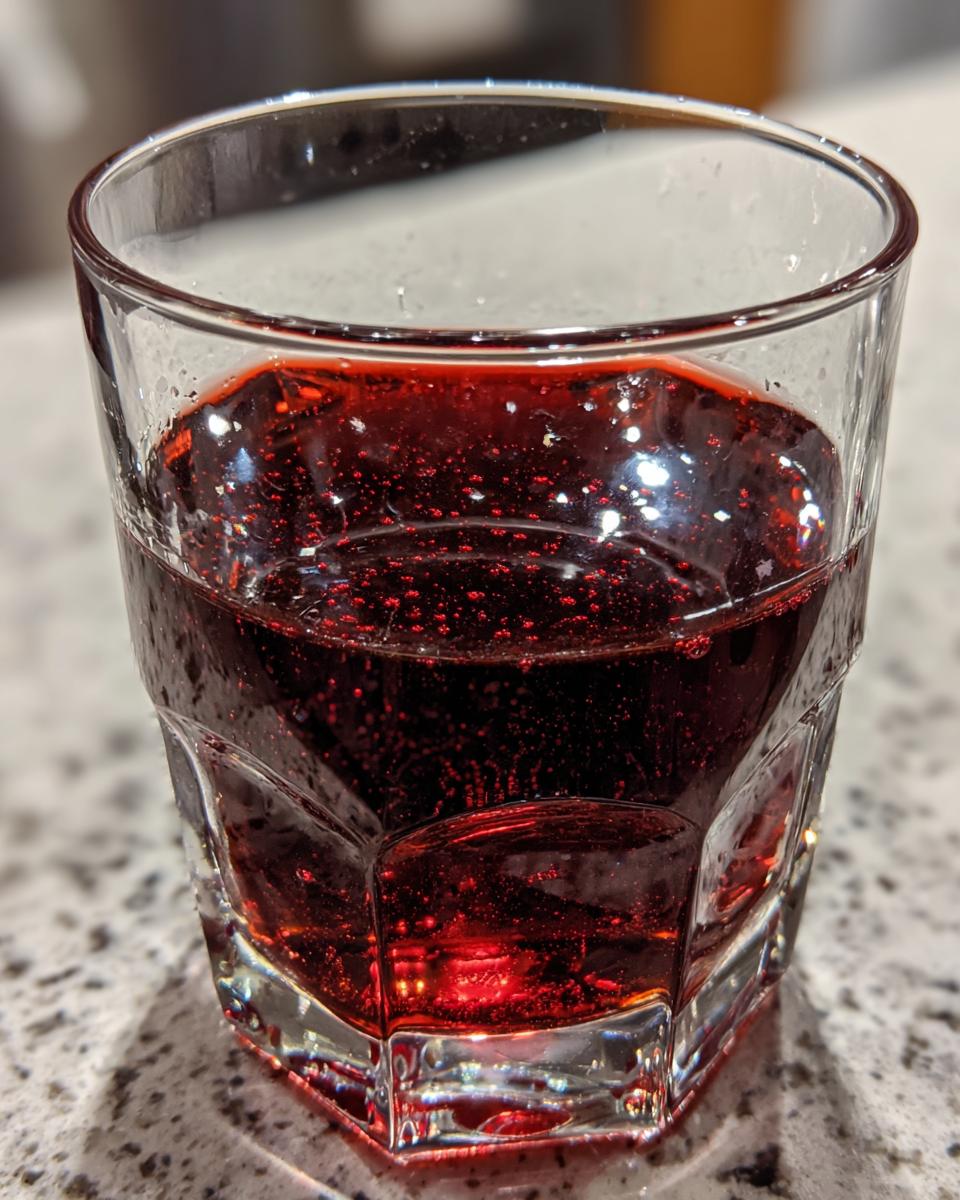
- Serve and Enjoy: Kanji is best served chilled. Pour yourself a glass and savor that unique, refreshing taste! It’ll keep in the fridge for about a week.
Preparing the Vegetables for Your Kanji Drink
This part is pretty simple, but it makes a difference! You’ll want to give your beautiful black carrots (or red carrots and beetroot) a really good wash. Then, grab your peeler and get them nice and clean. Now, the cutting! Aim for thin strips, about two inches long. Think of them like sturdy matchsticks. This size helps them release their flavors and color beautifully into the water, and it also ensures they ferment evenly. Don’t go too chunky, or they might not infuse as well!
The Fermentation Process for a Robust Kanji Drink
This is where the magic truly happens, and it’s mostly hands-off, which I love! Once you’ve got everything mixed in your jar, find a sunny spot for it. The warmth from the sun really helps kickstart those good bacteria. You’ll want to give it a gentle stir once a day with a super clean spoon – this keeps everything happy and prevents any unwanted guests. As the days go by, you’ll notice the color deepening, and the aroma will change from fresh veggies to a lovely, tangy, slightly pungent smell. That’s your cue! Start tasting it daily until it hits that perfect, delightful sourness you’re looking for. It’s like a little science experiment right on your countertop!
Troubleshooting and Tips for Your Kanji Drink
Okay, so you’re on your Kanji journey, and maybe you’ve got a little question mark floating over your head. Don’t worry, even experienced fermenters run into little quirks! The beauty of making your own Kanji drink is that you learn as you go, and I’m here to share some of my hard-earned lessons and tips to make sure your batches are always a success.
First up, let’s talk about the dreaded M-word: mold. If you see anything fuzzy, black, green, or pink growing on the surface of your Kanji, I’m so sorry, but you need to toss that batch and start over. It’s usually a sign that something wasn’t clean enough, or maybe it wasn’t submerged properly. Always, always use very clean utensils and jars! Another common thing is inconsistent fermentation. If it’s not getting tangy, it might be too cold. Try moving it to a warmer spot, or even a little closer to a sunny window. On the flip side, if it’s fermenting too fast and getting super sour, it might be too warm. Just remember, temperature plays a huge role!
Also, don’t be afraid to taste and adjust! If it’s not salty enough for your liking, you can always add a tiny bit more black salt after it’s strained. Same goes for the mustard powder – if you want more of a kick, a little extra will do the trick. And once it’s ready, storing it in the fridge will slow down the fermentation and keep it tasting great for about a week. Enjoy!
Ensuring Success with Your Homemade Kanji Drink
My biggest tip for a perfect homemade Kanji drink? Cleanliness, cleanliness, cleanliness! Make sure your jar, your spoon, and anything else that touches the mixture is sparkling clean. This prevents those unwelcome molds from crashing your fermentation party. Also, pay attention to the temperature – too cold and it’ll take ages, too warm and it might go sour too fast. Finding that sweet spot where the sun warms it gently is key to a robust, flavorful Kanji!
Frequently Asked Questions About This Recipe for Kanji Drink
Got questions about whipping up your own batch of this amazing Kanji drink? You’re not alone! Here are some of the most common questions I get asked about this recipe. Hopefully, these answers will help you feel super confident in your Kanji-making journey!
Q1: What exactly makes this Kanji drink good for digestion?
A1: Great question! The magic lies in the fermentation process. As the carrots and beetroot ferment, they create beneficial bacteria (probiotics!) that are fantastic for your gut health. These little guys help balance your digestive system, making this a wonderful natural aid for digestion. It’s like a gentle reset for your tummy!
Q2: My Kanji isn’t getting tangy. What went wrong?
A2: Don’t panic! The most common reason for a lack of tang is temperature. Fermentation slows down in cooler environments. Try moving your jar to a warmer spot, maybe a sunny windowsill, or even near a heater (but not directly on it!). Give it another day or two, and you should start to notice that lovely sourness developing.
Q3: Can I store the Kanji at room temperature once it’s ready?
A3: Nope, once your Kanji drink has reached its perfect tanginess, it’s best to strain it and pop it straight into the refrigerator. Keeping it chilled slows down the fermentation process significantly, which means it won’t get overly sour and will stay delicious for longer. Think of the fridge as its cozy little hibernation spot!
Can I Use Different Vegetables in My Kanji Drink?
Absolutely! While the traditional recipe for Kanji drink uses carrots and beetroot, you can definitely experiment. I’ve seen people add a little turnip or even radishes for a slightly different flavor profile. Just remember that different vegetables might ferment at different rates or give a slightly different color and taste. But hey, that’s the fun of homemade drinks – making them your own!
How Long Does Homemade Kanji Drink Last?
Once your homemade Kanji drink is strained and bottled, it will last beautifully in the refrigerator for about a week. After that, it might start to get a bit too sour for most tastes, but it’s still safe to consume. Just remember to always store it in a clean, airtight bottle in the fridge to keep it fresh and delicious!
Estimated Nutritional Information for This Kanji Drink
I know many of you are curious about what you’re putting into your body, and I totally get it! So, I’ve put together some estimated nutritional information for this delicious Kanji drink. Please keep in mind that these values are just estimates. The actual numbers can vary a bit depending on the exact size of your carrots and beetroot, and even the specific brands of black salt or mustard powder you use. But this should give you a good idea of the goodness in every glass!
Your Feedback on This Kanji Drink Recipe
Well, there you have it – my absolute favorite recipe for kanji drink! I truly hope you give this vibrant, gut-friendly beverage a try. I’d love, love, love to hear how your batch turns out! Did you love the tangy flavor? Any fun variations you tried? Please, leave a comment below and let me know! And if you share your homemade Kanji on social media, be sure to tag me. Happy fermenting!
Print
Recipe for Kanji Drink: Your 7-Day Gut Miracle
- Total Time: 3-7 days (fermentation) + 20 minutes
- Yield: 2 liters 1x
- Diet: Vegan
Description
This recipe makes Kanji, a fermented carrot and beetroot drink, popular in North India during winter. It’s known for its tangy, pungent flavor and is often served as a digestive.
Ingredients
- 1 kg black carrots (or 500g red carrots and 500g beetroot)
- 2 liters filtered water
- 2–3 tbsp black salt (kala namak)
- 1–2 tbsp mustard powder (rai powder)
- 1 tsp asafoetida (hing)
Instructions
- Wash and peel the carrots and beetroot. Cut them into 2-inch long, thin strips.
- In a large, clean glass jar or ceramic pot, combine the carrot and beetroot strips.
- Add the filtered water, black salt, mustard powder, and asafoetida to the jar. Stir well to ensure all ingredients are mixed.
- Cover the jar loosely with a clean cloth or lid, allowing air to circulate. Do not seal tightly.
- Place the jar in a sunny spot for 3-7 days. Stir the mixture once a day with a clean spoon.
- Taste the Kanji daily. It’s ready when it develops a tangy, slightly pungent flavor. The fermentation time varies based on temperature.
- Once fermented to your liking, strain the Kanji into clean bottles. Discard the solids or use them in other dishes.
- Chill the Kanji before serving. It can be stored in the refrigerator for up to a week.
Notes
- Black carrots give the authentic color and flavor, but red carrots and beetroot work as a substitute.
- Adjust the black salt and mustard powder to your taste.
- Ensure your jar and utensils are very clean to prevent unwanted mold growth.
- If mold appears, discard the batch and start over.
- Serving it chilled enhances the flavor.
- Prep Time: 20 minutes
- Cook Time: 0 minutes
- Category: Beverage
- Method: Fermentation
- Cuisine: Indian
Nutrition
- Serving Size: 200 ml
- Calories: 30
- Sugar: 5g
- Sodium: 600mg
- Fat: 0g
- Saturated Fat: 0g
- Unsaturated Fat: 0g
- Trans Fat: 0g
- Carbohydrates: 7g
- Fiber: 2g
- Protein: 1g
- Cholesterol: 0mg
Keywords: Kanji, fermented drink, Indian beverage, carrot drink, beetroot drink, digestive drink, winter drink