
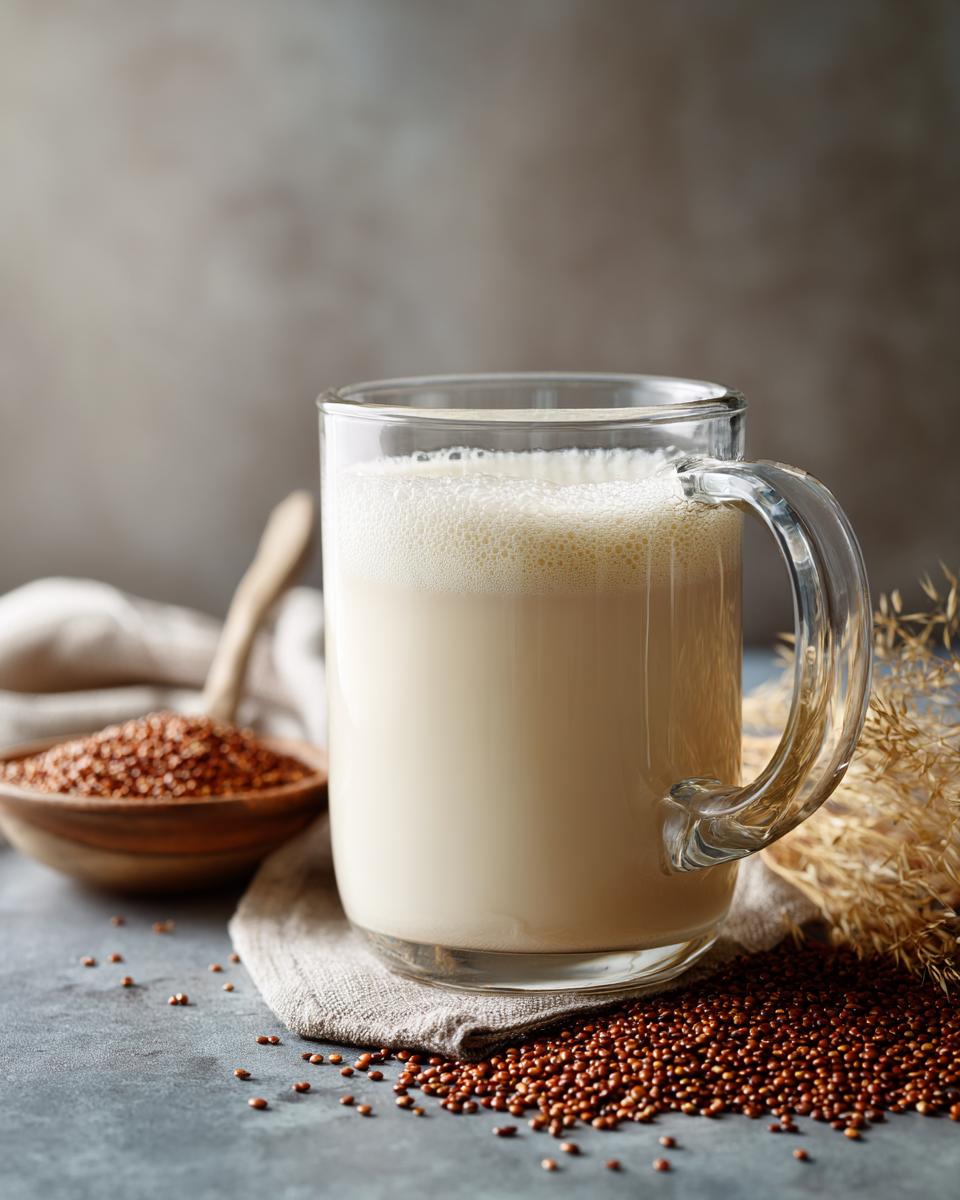
You know, I used to think making your own plant-based milk was this big, complicated thing. Like, something you needed a super fancy machine for or hours in the kitchen. But trust me, I stumbled upon making my own Quinoa milk one day and my whole world changed! Seriously, this recipe is ridiculously easy AND super affordable, which I love. It’s packed with goodness without any weird fillers you find in some store-bought stuff. I remember thinking, “Can it really be this simple?” and the answer was a huge YES! It’s become my go-to when I want a creamy, dairy-free alternative that tastes fantastic and is good for me. I’m all about finding those simple swaps that make a big difference, and this homemade Quinoa Milk is definitely one of them!

Why You’ll Love This Homemade Quinoa Milk
Seriously, this Quinoa Milk is a total game-changer! You’re going to be obsessed for so many reasons:
- Super Quick Prep: We’re talking minutes here, not hours. Perfect for busy mornings!
- Minimal Ingredients: Just a few simple things you probably already have. Easy peasy!
- Totally Allergy-Friendly: It’s naturally dairy-free, soy-free, and gluten-free. Hooray!
- So Versatile: Pour it on cereal, blend it into smoothies, or use it in your baking. Endless possibilities!
- Budget-Friendly: Way cheaper than buying fancy non-dairy milk at the store. Your wallet will thank you!
Gather Your Ingredients for Quinoa Milk
Okay, getting started with this amazing Quinoa Milk is ridiculously simple. You really only need two things to get going, but I’ll give you some fun options to jazz it up! Here’s what you’ll want to have on hand:
- 1 cup quinoa (make sure it’s rinsed really well!)
- 4 cups water
- (Optional) 1 tablespoon sweetener – like maple syrup or agave, if you like it a bit sweet.
- (Optional) 1/2 teaspoon vanilla extract for a nice warm flavor boost.
Step-by-Step Guide to Making Quinoa Milk
Alright, let’s get this creamy, dreamy Quinoa Milk made! It’s so satisfying to whip up your own plant-based goodness. Don’t worry, it’s really straightforward. Just follow these simple steps and you’ll have delicious Quinoa Milk in no time. Ready?
Rinsing Your Quinoa for the Best Quinoa Milk
First things first, and this is super important for amazing Quinoa Milk: you’ve gotta rinse your quinoa! Quinoa has this natural coating called saponins, and if you don’t wash them off, your milk can taste a little bitter. Think of it like giving your quinoa a little bath to make sure it’s perfectly clean and ready to be blended. Just pop it into a fine-mesh sieve and let cold water run over it for a minute or two until the water runs clear. It makes a HUGE difference, trust me!
Blending for Creamy Quinoa Milk
Now for the fun part! Toss your rinsed quinoa into your blender, add the water, and let it rip. You want to blend this on high speed for a good minute or two. I like to let it go until it looks really smooth and frothy. This is where all that creamy texture comes from! Don’t be shy with the blending time; we want to break down all those tiny quinoa grains so they release their goodness into the water. If you’re making something super fun later, maybe check out this pineapple lemon drop recipe for inspiration!
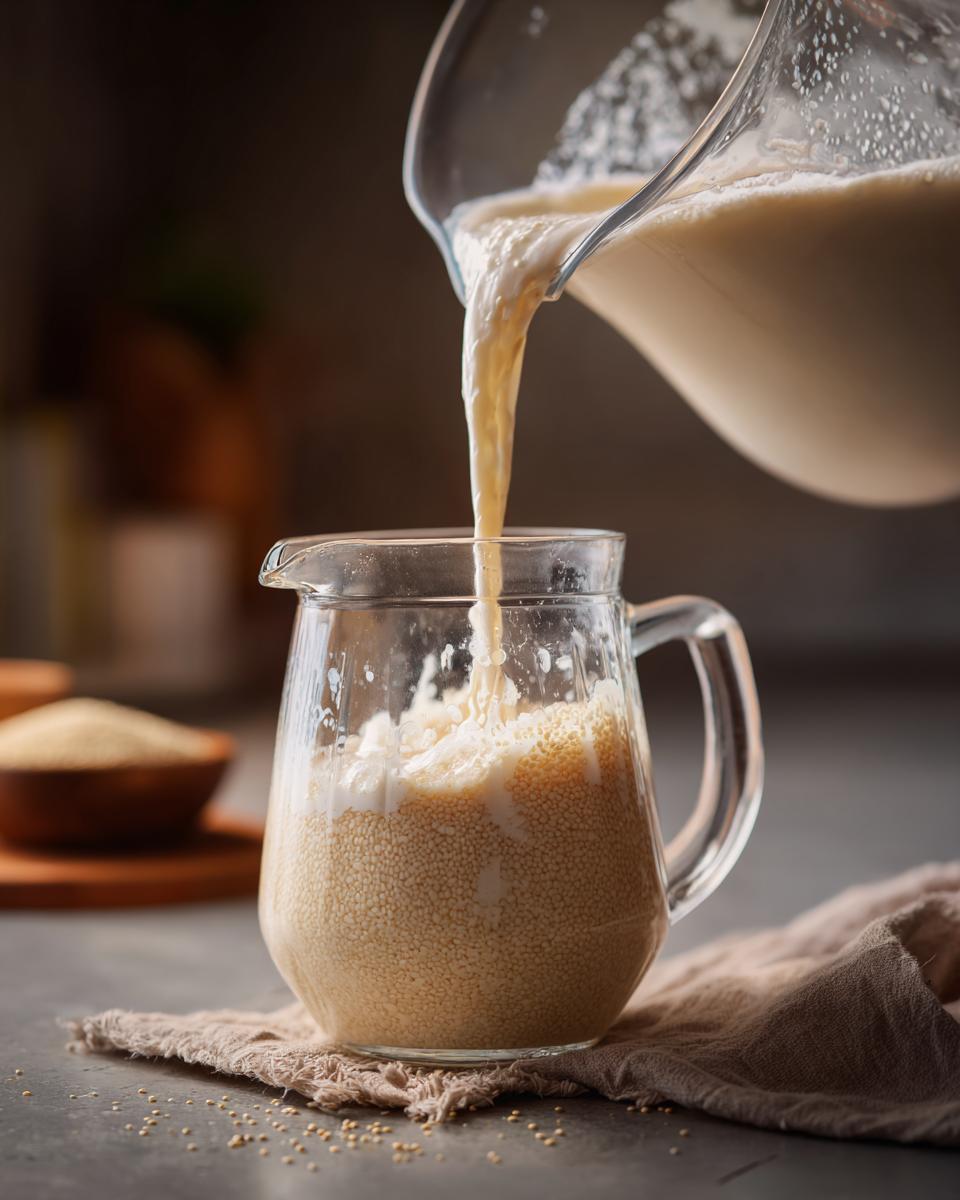
Straining Your Quinoa Milk for Smoothness
Time to strain! This is what separates good Quinoa Milk from just soggy quinoa water. You have a couple of options here. A super fine-mesh sieve works really well, or if you have some cheesecloth, that’s even better. Line your sieve or cheesecloth over a bowl or pitcher and carefully pour the blended mixture in. Let it drip through. You might need to give it a gentle push with a spoon, but don’t squeeze it too hard, or you might push the pulp through. You want to end up with smooth, beautiful Quinoa Milk and discard the leftover pulp. This part is key for that silky texture!

Tips for Perfect Quinoa Milk
You know, sometimes things don’t turn out *exactly* perfect the first time, but with a few little tricks, you’ll be making Quinoa Milk like a pro! My biggest tip? Don’t be afraid to play with the water ratio.
If you like your milk a little thicker, almost like whole dairy milk, use closer to 3 cups of water. If you prefer it on the lighter side, perfect for say, a refreshing drink, go for 5 cups. It’s totally up to you! And about that separation you might see? Totally normal! Quinoa Milk doesn’t have the stabilizers that store-bought ones do. Just give it a good shake before each use – it’s like waking it up again!
Ingredient Notes and Substitutions for Quinoa Milk
Alright, let’s talk about the goodies you’re putting into your fantastic Quinoa Milk! The recipe calls for just a couple of core things, but you can totally tweak it to make it your own. The quinoa itself is awesome, but if you’re feeling adventurous, you could experiment *very cautiously* with other grains, though honestly, quinoa is king here for that smooth texture. As for sweeteners, maple syrup is my go-to for that lovely caramel-y hint, but agave works wonderfully too. If you’re avoiding all sweeteners (good for you!), just leave it out – the quinoa has a natural subtle sweetness of its own!
Serving Suggestions for Your Homemade Quinoa Milk
Now that you’ve got this delicious homemade Quinoa Milk ready to go, the fun really begins! Honestly, it’s so versatile. I love pouring it over my morning cereal or granola – it just makes everything taste so much better. And my coffee? Forget about it! A splash of this Quinoa Milk makes my latte creamy and dreamy, way better than any store-bought stuff.
If you’re a smoothie person like me, you HAVE to try it in your next blend. It adds this lovely, subtle richness. Thinking of tackling something fun like a banana blueberry breakfast smoothie? This Quinoa Milk would be perfect! You can even use it in baking instead of regular milk – think pancakes, muffins, or even custards. It’s your secret ingredient for making everything just a little bit healthier and a whole lot tastier!
Storage and Reheating Instructions
Storing your homemade Quinoa Milk is super easy! Just pop it into an airtight container, like a jar or a bottle, and keep it in the fridge. It’s best to use it within about 3 days. You’ll notice it can separate a bit – that’s totally normal. Just give it a good shake before you use it. Honestly, it’s so quick to make that whipping up a fresh batch every few days is no big deal at all!
Frequently Asked Questions about Quinoa Milk
Got questions about this amazing homemade Quinoa Milk? I’ve got answers! Making your own dairy-free milk can bring up a few things, so let’s clear them up:
Is Quinoa Milk good for you?
Absolutely! Quinoa Milk is a fantastic plant-based option. It’s naturally dairy-free and a great source of protein and fiber from the quinoa itself. Plus, when you make it at home, you know exactly what’s going into it – no weird additives or preservatives! It’s a really wholesome choice, especially for those avoiding lactose or dairy. It’s also low in sugar, which is another big win!
How long does homemade Quinoa Milk last?
Since there are no preservatives, homemade Quinoa Milk is best enjoyed within about 3 days when stored in an airtight container in the refrigerator. You might notice it separates – that’s totally normal! Just give it a good shake before you use it. Honestly, it’s so easy to whip up a fresh batch, you’ll probably find yourself making it every few days anyway.
Can I make Quinoa Milk without a blender?
While a blender makes it super easy to get that creamy texture, you *can* technically make Quinoa Milk without one, but it’s a bit more work and won’t be as smooth. You’d need to soak the quinoa really well for a long time, then mash it as much as possible with a fork or potato masher, and then strain. It’s much more labor-intensive, and the texture might be a bit grainier. For the best Quinoa Milk, a blender is definitely your best friend! If you’re into other healthy drinks, this spinach green apple detox smoothie is awesome too!
Why does my Quinoa Milk have a bitter taste?
Oh, that bitter taste is usually from not rinsing the quinoa well enough! Quinoa has a natural coating called saponins that can taste bitter. Make sure you give it a really thorough rinse under cold water until the water runs completely clear. It’s a small step, but it makes all the difference between delicious Quinoa Milk and… well, not-so-delicious Quinoa Milk!
Nutritional Information for Quinoa Milk
So, what are you actually getting with this delicious homemade Quinoa Milk? It’s pretty great nutritionally! Keep in mind this is just an estimate, and the exact numbers can change a bit depending on how much water you use. But generally, a 1-cup serving will give you around 120 calories. It’s a good source of protein (about 4g) and fiber (around 3g), with only about 1g of sugar and 2g of fat. It’s a wonderful, light option for a dairy-free boost!
Print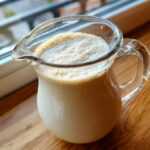
Homemade Quinoa Milk
- Total Time: 5 min
- Yield: 4 cups 1x
- Diet: Vegan
Description
A simple recipe for making dairy-free quinoa milk at home.
Ingredients
- 1 cup quinoa
- 4 cups water
- 1 tablespoon sweetener (optional)
- 1/2 teaspoon vanilla extract (optional)
Instructions
- Rinse the quinoa thoroughly under cold water.
- Combine the rinsed quinoa and 4 cups of water in a blender.
- Blend on high speed until smooth.
- Strain the mixture through a fine-mesh sieve or cheesecloth into a bowl or pitcher. Discard the pulp.
- Stir in sweetener and vanilla extract, if using.
- Store in an airtight container in the refrigerator for up to 3 days.
Notes
- Shake well before each use as separation may occur.
- Adjust the amount of water to achieve your desired consistency.
- Prep Time: 5 min
- Cook Time: 0 min
- Category: Beverage
- Method: Blending
- Cuisine: General
Nutrition
- Serving Size: 1 cup
- Calories: 120
- Sugar: 1g
- Sodium: 5mg
- Fat: 2g
- Saturated Fat: 0g
- Unsaturated Fat: 2g
- Trans Fat: 0g
- Carbohydrates: 22g
- Fiber: 3g
- Protein: 4g
- Cholesterol: 0mg
Keywords: quinoa milk, dairy-free milk, plant-based milk, homemade milk, vegan milk