
You know those times? You just *need* that perfect, salty-sweet comfort food, and you need it like, yesterday. Forget fussy cakes or complicated doughs. When that intense peanut butter craving hits, I turn straight to my foolproof recipe for **Peanut Butter Cookie Bars**. Trust me, I’ve made this exact batch at least fifty times for everything from last-minute school bake sales to just surviving a stressful Tuesday.
The beauty of these bars? They are supremely simple. You don’t need fancy spatulas or hours of chilling. We’re talking about the chewiest, thickest peanut butter squares you’ve ever eaten, made with almost no fuss. If you can stir a bowl, you can nail these babies every single time!
Why You Will Love These Peanut Butter Cookie Bars
Honestly, these bars are my go-to for a reason. They deliver huge flavor with embarrassingly little effort. If you are desperate for that perfect peanut butter fix, this is where you go. I promise you won’t regret putting these together.
- They are incredibly fast; you’re looking at maybe 15 minutes of prep work.
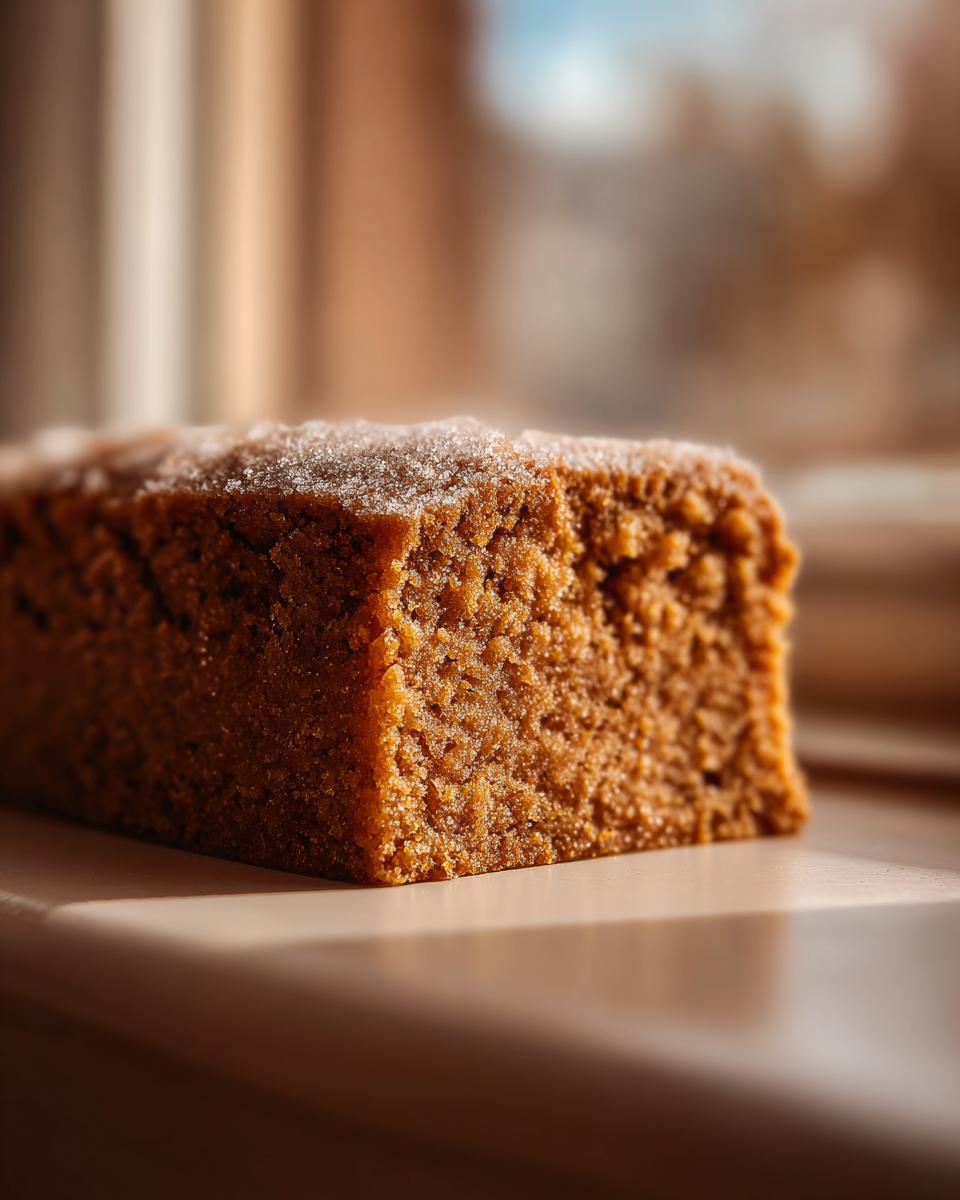
- The texture is unmatched—super chewy and dense without being dry at all.
- That rich, sugary peanut butter taste is exactly what you crave when you walk in the door.
- Cleanup is minimal, which means you can get to eating your treats sooner!

Essential Ingredients for Perfect Peanut Butter Cookie Bars
Okay, gathering what you need is the easiest part of this whole recipe. We aren’t working with a ton of exotic items here; it’s all pantry staples that come together to make magic happen. Pay attention to what state your butter needs to be in; that’s a big deal for texture!
You’re going to need:
- 1 cup (2 sticks) unsalted butter, softened—make sure it’s actually soft, not melted!
- 1 cup granulated sugar
- 1 cup packed brown sugar—the packing matters, trust me.
- 1 cup creamy peanut butter—this is my big tip! Use a standard creamy brand, not the natural runny kind. The stability makes these bars set perfectly. You can find good ideas for other pantry staples over at simple syrup recipes if you are stocking up!
- 2 large eggs
- 1 teaspoon vanilla extract
- 2 1/2 cups all-purpose flour
- 1 teaspoon baking soda
- 1/2 teaspoon salt (unless you use salted butter, then skip this!)
- 1/2 cup granulated sugar, just for a lovely, slightly crunchy topping (totally optional, but I always do it!).
Step-by-Step Instructions for Making Peanut Butter Cookie Bars
Now we get to the fun part! I know directions can sometimes feel stiff, but honestly, these bars just want you to follow along without fuss. The whole process moves really quickly, so have your measuring cups ready to go. Just remember my lifelong baking mantra: the mixing stage is where we build the chewiness, so be gentle when the flour comes in!
Preparing the Pan and Preheating
First things first, get that oven warmed up to 350 degrees F (175 degrees C). You want it ready when the dough is, not the other way around. I always line my 9×13 inch pan completely with parchment paper, making sure there’s a little overhang on the sides. This little bit of paper acts as a sling so we can easily lift the whole, perfectly baked block of cookie out later. It’s a lifesaver!
Mixing the Wet Ingredients for Your Peanut Butter Cookie Bars
In your biggest bowl, go ahead and beat that softened butter with both the granulated and brown sugar. You want it light and fluffy—we call that ‘creamed’ for a reason! Then, beat in your cup of peanut butter until everything is beautifully incorporated. Once that’s smooth, drop in your two eggs one at a time, followed by that splash of vanilla extract until it all looks wonderfully yellow and creamy. Keep mixing until you can’t see any streaks of sugar!
Combining Dry Ingredients and Final Dough Assembly
While your wet ingredients are chilling out, grab another bowl. Whisk your flour, baking soda, and salt together really well. This keeps the leavening agents distributed nicely. Now, this is important: add those dry components to the wet mixture gradually. I usually do it in three additions. Mix on low speed, but stop mixing the absolute second you see the last bit of flour disappear. Overmixing makes these bars tough, and nobody wants a tough peanut butter bar!
Baking and Cooling Your Peanut Butter Cookie Bars
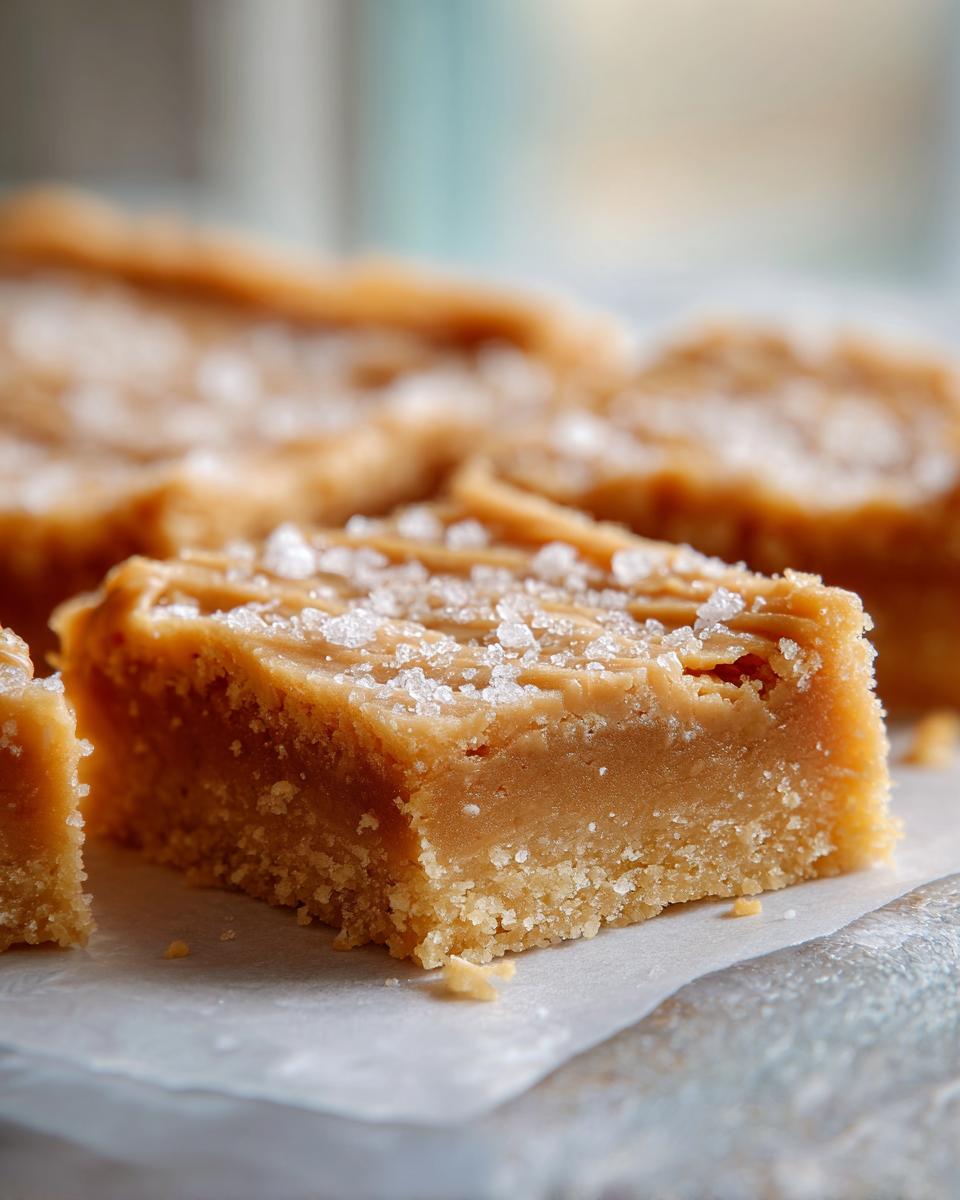
Take that gorgeous, thick dough and press it down evenly into your prepared pan. If you’re feeling fancy—and you should be!—sprinkle that extra half cup of granulated sugar right over the top. That gives a fantastic little crust. Pop it in the preheated oven for about 25 to 30 minutes. You’re looking for the edges to just start turning light golden brown. Once they are done, take them out and let them cool down completely in that pan. Seriously, don’t rush the cooling step! If you try to cut them warm, they will crumble everywhere. You can learn a lot about timing from experts; I read incredible tips about timing when I was looking up ways to stop my iced tea from getting cloudy, and it’s the same principle: patience pays off in the end!
Tips for Making the Best Peanut Butter Cookie Bars
If you want these **Peanut Butter Cookie Bars** to be absolutely perfect—I mean, that dense, chewy center that makes you close your eyes when you take a bite—you need to focus on two key moments in the process. First, we talked about not overmixing once the flour goes in; that develops the gluten and makes them cakey instead of chewy. Keep that dough just barely combined!
My other huge piece of advice, which I learned the hard way after ruining a perfectly good batch, is all about slicing. Don’t even *think* about cutting these bars when they are even slightly warm. They need to chill out completely—like, 30 minutes in the fridge after cooling on the counter—so that the structure firms up. This guarantees those super clean edges, and you won’t waste half a pan to crumbs.
Peanut Butter Cookie Bars: Ingredient Substitutions and Notes
Sometimes you look in your pantry and realize you’re missing exactly what you needed. Don’t panic! These bars are pretty flexible, but a few swaps will definitely change the final texture slightly. If you only have crunchy peanut butter on hand, go for it! It just means you’ll have little nutty surprises scattered throughout, which honestly isn’t a bad thing.
For the butter, if you use salted butter instead of unsalted, you can skip adding that half teaspoon of salt to your dry ingredients. That’s an easy fix! But seriously, try to stick with commercial creamy peanut butter rather than the all-natural, oily kind. That natural stuff separates too much, and we need that stable fat base here for the best **Peanut Butter Cookie Bars**. If you’re trying to get fancy with the fats, just know you might end up with a crumbly bar instead of the gooey good stuff we are aiming for!
Storing and Reheating Your Peanut Butter Cookie Bars
These bars are wonderful because they are so hardy! Once they are totally, completely cooled—and I mean fridge-cold if you want clean cuts—I store them right in the pan, covered tightly with foil or plastic wrap. They stay perfectly fine on the counter at room temperature for about three days. They might get a tiny bit softer, but they don’t go stale fast.
If you want them to last longer, pop them into the fridge. They hold up amazingly well in there for a full week. Honestly, I rarely reheat them because they are perfect cold or room temp, but if you absolutely must, zap a square for just 8 to 10 seconds in the microwave. That just softens the center up nicely!
Serving Suggestions for Peanut Butter Cookie Bars
These **Peanut Butter Cookie Bars** are rockstars on their own, but serving them up just right makes them truly special. My absolute favorite way to deal with a fresh batch is pairing them with something cold. A tall, frosty glass of whole milk cuts right through that rich peanut butter flavor beautifully.
When I need an afternoon pick-me-up, a warm cup of black coffee is the perfect counterpart. For a real showstopper dessert, though, serve one slightly warmed up with a big scoop of vanilla bean ice cream melting right over the top. If you are looking for a non-dessert way to get your peanut butter fix, check out this great peanut butter banana protein shake recipe!

Frequently Asked Questions About Peanut Butter Cookie Bars
I always get asked about freezing these, or what happens if you use the wrong kind of peanut butter. Baking is usually forgiving, but with these bars, a few little choices really impact the texture! Ask me anything, I’ve tried it all. If you can’t find the right ingredients, sometimes a shake is the next best bet! You can check out tips for a great peanut butter banana smoothie if you’re short on time instead of baking!
Can I use natural, runny peanut butter in these Peanut Butter Cookie Bars?
Oh, I wouldn’t recommend it, honey. That natural, runny peanut butter oils out too much when baking, which makes your bars greasy and they might not set up right. Stick to the classic creamy kind for the best structure!
What is the best way to get clean cuts on the finished Peanut Butter Cookie Bars?
That chilling step I keep hammering on is your best friend here! Once they are totally cool, put the whole pan into the fridge for half an hour. Then, use a long, sharp knife dipped in hot water and wiped dry between each slice. Beautiful, clean lines every time.
Can I make a gluten-free version? Yes! Just swap out the all-purpose flour for a good quality 1-to-1 gluten-free blend that includes xanthan gum. You might need to chill the dough a little longer before pressing it into the pan, though, since GF flours can absorb liquid differently.
How do I stop them from being too dry? Well, if you overbake them, they’ll be dry, period! Pull them out when the edges are just barely golden. Also, make sure you pack that brown sugar tightly into your measuring cup when mixing wet ingredients; that molasses adds crucial moisture!
Estimated Nutritional Snapshot for Peanut Butter Cookie Bars
Now, I know we bake these for pure joy and not for the label reading, but it’s nice to know what you’re getting into! We are dealing with rich, dense cookie bars here, so calories are a little higher, as expected.
Based on dividing the recipe into 24 squares, here’s what you’re looking at for one bar:
- Calories: 220
- Sugar: 18g
- Fat: 12g
- Carbohydrates: 26g
- Protein: 5g
Just a quick heads-up: these numbers are estimates based on all the standard ingredients listed. If you start drizzling chocolate or adding extra peanut butter cups, well, you know those numbers are going up!
Print
Simple Peanut Butter Cookie Bars
- Total Time: 45 min
- Yield: 24 bars 1x
- Diet: Vegetarian
Description
A straightforward recipe for chewy peanut butter cookie bars.
Ingredients
- 1 cup (2 sticks) unsalted butter, softened
- 1 cup granulated sugar
- 1 cup packed brown sugar
- 1 cup creamy peanut butter
- 2 large eggs
- 1 teaspoon vanilla extract
- 2 1/2 cups all-purpose flour
- 1 teaspoon baking soda
- 1/2 teaspoon salt
- 1/2 cup granulated sugar, for topping (optional)
Instructions
- Preheat your oven to 350 degrees F (175 degrees C). Line a 9×13 inch baking pan with parchment paper, leaving an overhang on the sides.
- In a large bowl, beat the softened butter, granulated sugar, and brown sugar until creamy.
- Beat in the peanut butter, eggs, and vanilla extract until combined.
- In a separate bowl, whisk together the flour, baking soda, and salt.
- Gradually add the dry ingredients to the wet ingredients, mixing until just combined. Do not overmix.
- Press the dough evenly into the prepared baking pan.
- If using, sprinkle the remaining 1/2 cup of granulated sugar evenly over the top of the dough.
- Bake for 25 to 30 minutes, or until the edges are lightly golden brown.
- Let the bars cool completely in the pan before lifting them out using the parchment paper overhang.
- Cut into squares and serve.
Notes
- For cleaner cutting, chill the cooled bars for 30 minutes before slicing.
- You can use crunchy peanut butter if you prefer texture in your bars.
- For a richer flavor, use salted butter and omit the added salt in the dry ingredients.
- Prep Time: 15 min
- Cook Time: 30 min
- Category: Dessert
- Method: Baking
- Cuisine: American
Nutrition
- Serving Size: 1 bar
- Calories: 220
- Sugar: 18g
- Sodium: 110mg
- Fat: 12g
- Saturated Fat: 5g
- Unsaturated Fat: 7g
- Trans Fat: 0g
- Carbohydrates: 26g
- Fiber: 1g
- Protein: 5g
- Cholesterol: 30mg
Keywords: peanut butter, cookie bars, dessert, easy baking, sweet treat