
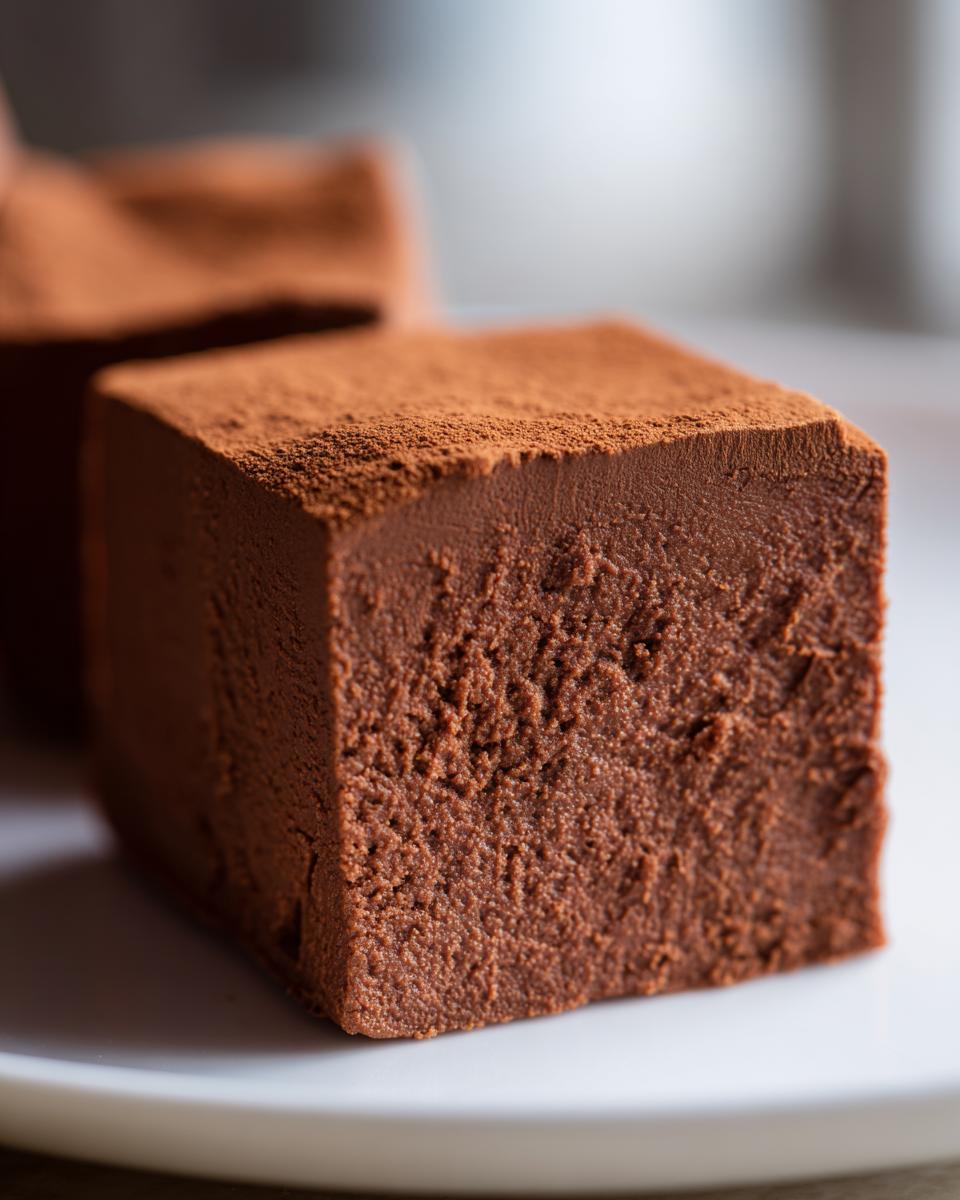
Oh my goodness, there is just nothing that smells like home and feels like a treat quite like real, creamy fudge. Seriously, the smell when it is setting up on the counter just takes me right back to childhood holidays. I’ve tried so many fancy candy recipes over the years, but for me, nothing beats the straightforward approach. This recipe for Brown Sugar Fudge is my absolute go-to because it skips fiddly steps and just relies on good old kitchen science.
When I finally got this right years ago—that perfect, slightly chewy, but gloriously smooth consistency—I almost cried! It was the first time I truly understood the soft-ball stage, and now I can do it without even looking too closely at the thermometer half the time. We’re talking rich, deep flavor from that brown sugar, using just milk, butter, and a handful of chocolate chips. It’s the simplest, most reliable stovetop candy you’ll ever make, promise!
Why This Brown Sugar Fudge Recipe Works So Well
When you rely on just a few core ingredients, quality and technique really matter. This recipe is popular because it skips the condensed milk trick, which can sometimes make fudge overly sweet or sticky, and it gives you unbelievable fudge without the fuss. It’s all about hitting that sweet spot temperature!
- It relies on simple pantry staples, meaning you don’t have to run out for fancy items.
- The stovetop method is fast, and cleanup is surprisingly easy if you tackle the pan quickly.
- The resulting Brown Sugar Fudge is always perfectly creamy!
Rich Flavor Profile of Brown Sugar Fudge
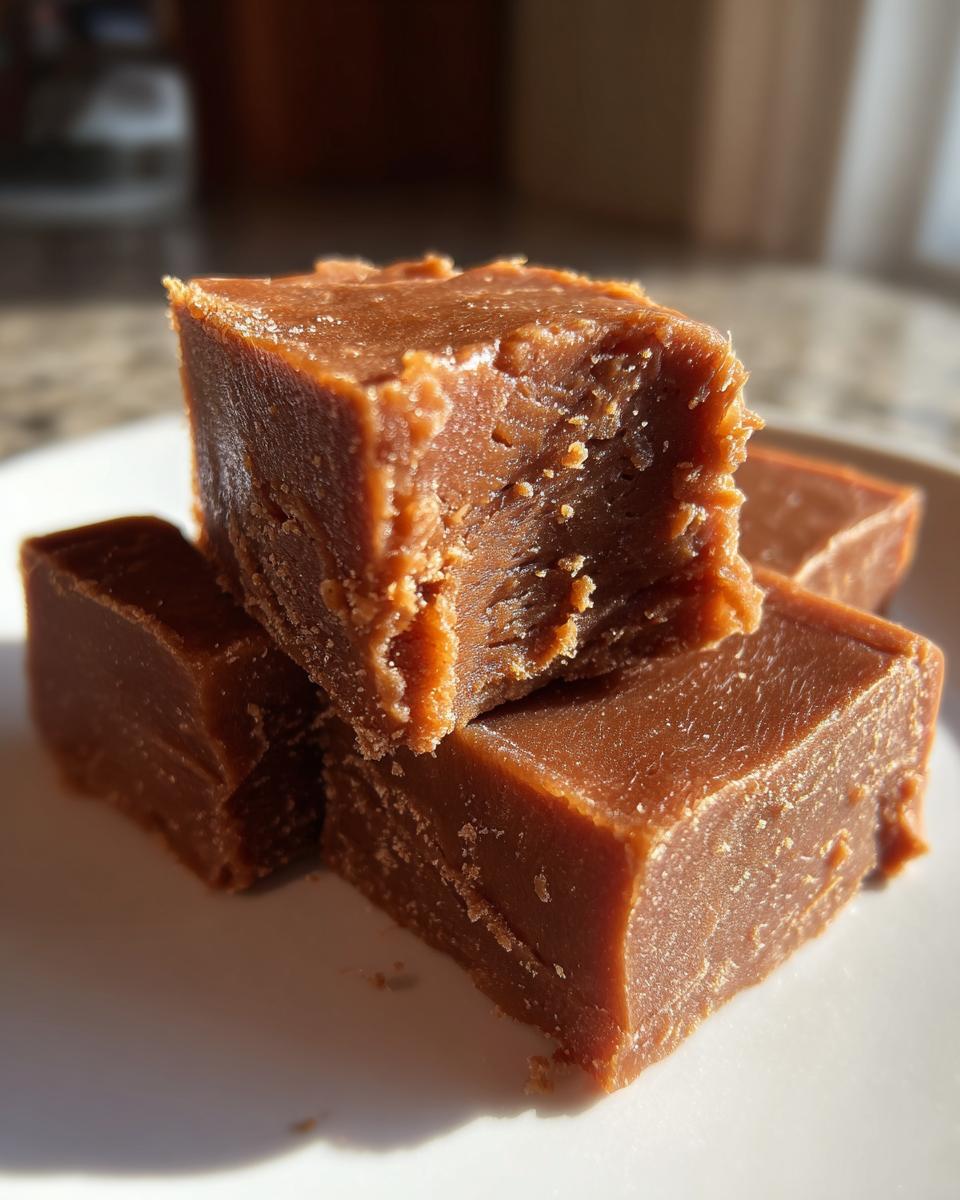
The secret weapon here, clearly, is the brown sugar. If you just used white sugar, you’d get a standard, sweet block of chocolate—which isn’t bad, but it’s not *this*. The molasses locked into the brown sugar brings these incredible, warm caramel undertones. It deepens the chocolate flavor so much! It tastes like you spent hours simmering ingredients, but nope, it’s just a quick boil. It gives the whole batch this gorgeous, slightly sophisticated richness that you just don’t get with plain white sugar recipes. Don’t forget to check out how we manage flavor complexity in caramel apple pie for more deep flavor inspiration!

Tips for Perfecting Your Brown Sugar Fudge Texture
We need to make sure this batch of Brown Sugar Fudge sets up right, and that comes down to two things: temperature and heat distribution. You absolutely must use a heavy-bottomed saucepan. I cannot stress this enough! Thin pans create hot spots instantly, and you’ll scorch the milk before you ever hit the proper temperature.
We are shooting for that 234-degree soft-ball stage. If you go past that, your fudge becomes crumbly and hard. If you don’t hit it, well, it stays liquidy. Trust me, use that thermometer, or practice the cold water drop—it’s the difference between perfect, melt-in-your-mouth candy and a grainy mess. It’s all about managing that heat!
Ingredients for Making Simple Brown Sugar Fudge
As I mentioned, this is hardly a complicated ingredient list, which is why I love this Brown Sugar Fudge so much! We aren’t making complicated syrups here, just the core components. Make sure your butter is room temperature—it helps things melt down smoothly together in that heavy pan.
For the absolute best results, have everything measured out before you even turn the stove on. Trust me, once the sugar starts heating, you won’t have time to stop and measure out the milk!
- You need 1 cup of plain granulated sugar.
- Next, 1 cup packed light brown sugar—make sure it’s lightly packed so you don’t crush the molasses out of it!
- 1/2 cup of milk (whole milk works best here, if you have it).
- 1/2 cup of unsalted butter, cubed is helpful for even melting.
- I always have my vanilla extract ready: 1 teaspoon is perfect.
- Just a small pinch, 1/4 teaspoon of salt to balance that sweetness.
- And finally, 1/2 cup of semi-sweet chocolate chips. Those melt down beautifully.
If you want practice with simple sugar mixtures before you try this candy, you can always check out my guide on making simple syrup, which is a great starting point for sugar control!
Essential Equipment for Your Brown Sugar Fudge
Okay, so while the ingredient list is short, your tool selection is really where you win or lose with fudge. You can’t just throw this stuff in any old pot! Since we are dealing with sugar heating up past the boiling point, we have to be careful about scorching. If you’re making a big batch, the pot matters more than you think.
Here are the absolute must-haves for this stovetop candy project:
- A heavy-bottomed saucepan. Seriously, go grab your thickest Le Creuset or whatever pot has the heaviest base. This keeps the heat even so your sugars don’t burn on the bottom while the rest of the mixture cooks!
- A great candy thermometer. This is non-negotiable if you want that soft-ball stage consistently. You want one that clips securely to the side of the pan so the tip is submerged but not touching the bottom.
- An 8×8 inch baking pan. This is the standard size, and it sets up the perfect thickness for cutting those bite-sized pieces.
- Lots and lots of parchment paper! This is the hero for clean-up. You line the whole thing with an overhang so you can just lift the whole cooled block out later.
- A sturdy wooden spoon or heat-safe rubber spatula. You need something that can handle the vigorous stirring at the end.
Don’t let the thermometer scare you off! Once you see how easy it is to clip it on and how much confidence it gives you in this Brown Sugar Fudge, you’ll use it for everything!
Step-by-Step Instructions for Brown Sugar Fudge
Alright, pull up a stool because this is the make-or-break moment. Making fudge is more like alchemy than baking sometimes because temperature control is everything! But don’t panic; we go slow, then fast. Follow these steps exactly, and you’ll have that perfect, glossy, bendable Brown Sugar Fudge every single time. Remember, the process goes from constant stirring to absolutely zero stirring, and then back to frantic stirring—sounds complicated, but it’s not!
Preparing the Pan and Dissolving Sugars
First thing, get your 8×8 pan ready. Line it with parchment paper, making sure you leave a big overhang on two sides—that’s how we lift the fudge out later! Give the paper a tiny smear of grease, just so we’re safe. Now, in your heavy saucepan, add the granulated sugar, your light brown sugar, milk, and butter. Put that on medium heat and stir, stir, stir until everything looks dissolved. You’ll see the bottom of the pan clearly when the sugar is officially gone.
But listen closely: the *second* you see that mixture start to boil, STOP STIRRING! Seriously, grab that thermometer and clip it on there. If you keep stirring after it boils, you mess up the crystal structure, and we end up with a grainy mess. Time for patience!
Reaching the Soft-Ball Stage for Brown Sugar Fudge
Now it’s just a waiting game while the mixture cooks steadily. You are aiming for a very specific point: 234 degrees Fahrenheit. That’s the soft-ball stage, and that’s what gives our Brown Sugar Fudge its perfect texture. It should take about 8 to 10 minutes to get there, but watch the thermometer, not the clock!
If you don’t trust your thermometer—and I totally get it, cheap ones can lie—test it! Scoop a tiny drop of the syrup into a glass of ice-cold water. If it forms a soft, pliable ball that squishes easily, you nailed it! If it turns brittle right away, it’s overcooked. Pull it off the heat immediately when you hit that perfect temperature.
Finishing and Setting the Brown Sugar Fudge
Once you take the pan off the heat? Hurry up and stir in your vanilla and the salt. Then, toss in those chocolate chips. Let the whole thing sit there quietly for about five minutes. This lets the residual heat melt the chips gently without needing extra heat underneath. After that rest time, it’s GO TIME!
You need to stir this mixture vigorously, really beating it until the texture totally changes. You’ll notice the gloss disappearing—the shiny mixture will turn matte and start looking thick, like thick frosting. This takes a few good minutes of beating! Once it looks matte, pour it right into that parchment-lined pan. Whatever you do, do NOT scrape the sides of the pan; that stuff is often grainy and will ruin the whole batch of Brown Sugar Fudge. Let it cool completely at room temperature for hours until it’s totally firm before lifting and cutting.
If you are trying to control temperatures outside of the kitchen, always check out my guide on perfecting cold drinks—it’s all about managing the environment!
Ingredient Notes and Substitution Guide for Brown Sugar Fudge
When you’re making Brown Sugar Fudge, the few ingredients we use need to be spot on. I use light brown sugar because it keeps the color beautiful and caramel-y without overpowering the chocolate. If you grab dark brown, you’ll still get a rich flavor, but the fudge will be noticeably deeper in color and taste. It’s a trade-off!
As for butter, I tried using oil once, and honestly? Never again. You need that milk fat for structure, so stick with unsalted butter. If you are desperate and only have salted, just leave out the extra 1/4 teaspoon of salt we add later.
My biggest tip, though, is about the vanilla. Don’t cheap out! Since this is stovetop candy, the flavorings really have to stand up on their own. I always try to get a good, pure vanilla extract—the stuff that costs a little more is usually worth it because it just punches through the richness of the brown sugar perfectly.
Troubleshooting Common Brown Sugar Fudge Issues
Even when you follow the rules, sometimes candy throws you a curveball! Don’t panic if your first batch isn’t absolutely perfect. Fudge is notoriously temperamental, but almost every issue has a simple fix. Usually, it boils down to temperature or stirring technique. When I first started making this, I usually ended up with one of these three common hiccups, so I figured out how to solve them quickly.
If your fudge ends up too soft—meaning it’s still mushy hours later—it almost certainly means you didn’t let the syrup boil long enough to hit that 234-degree soft-ball stage. It didn’t concentrate enough! For a full reconstruction, you could melt it down again, but next time, let it boil for an extra minute or two, watching that thermometer like a hawk. Patience is key in candy making!
Now, if you ended up with crumbly fudge, that means you went too far! You cooked it past 240 degrees, and the sugar crystals got too tight. While you can’t usually fix crumbly, hard fudge easily, I’ve heard some people stir in tiny splashes of hot water while beating it down to try and loosen the structure, but honestly, if it tastes okay, just call it “Brown Sugar Bark” and enjoy it that way!
The worst problem is grainy fudge, which happens when sugar crystals form too fast or unevenly. This usually results from stirring *after* the boil starts or from scraping down the crystallized syrup clinging to the sides of the hot pan when you pour. Always avoid scraping! If you do get slight graininess, sometimes vigorously beating it after the chocolate melts helps, as the chocolate fat smooths everything out. You need strong arms for this last part, but it can save a batch! For general kitchen mishaps, maybe check out my thoughts on avoiding mistakes when making iced tea; the science of temperature failure is surprisingly similar!
Storage and Reheating Instructions for Brown Sugar Fudge
Once you finally have the perfect block of Brown Sugar Fudge, the last thing you want is to ruin its texture by storing it wrong! The good news is that this candy is super stable. You don’t need the fridge at all, which saves space!
I always wrap my squares tightly in plastic wrap, and then place those wrapped pieces in an airtight container. Kept like that at cool room temperature, this fudge lasts beautifully for at least a solid week, sometimes longer. If your kitchen is really warm or humid, the fridge is fine, but let it come up to room temperature for 30 minutes before serving so it gets that soft bite back.
If you need to cut it later and it’s rock hard, don’t try to microwave it! Just warm your knife blade under very hot water, dry it quickly, and slice through that firm Brown Sugar Fudge. It should slice like butter when the knife is warm.
Serving Suggestions for Your Homemade Brown Sugar Fudge
Now that you have this decadent, rich little square of heaven, what do you pair it with? Because this Brown Sugar Fudge is so intensely sweet and has those gorgeous molasses undertones, you need something to cut through it. Anything too sweet just gets overwhelming! It’s all about balance, right?
Honestly, texture contrast is my biggest focus here. You want something crunchy or something slightly acidic to refresh your palate between those squares. It really elevates the experience from a simple candy to a real dessert moment.
Here are my top ways to serve it up:
- A Strong Cup of Coffee: You need that bitter, dark roast coffee to stand up to the sweetness. I like to dip the corner of the fudge right into the hot coffee—it gets soft and melty, which is divine!
- Sparkling Water or Tea: If you’re not a coffee drinker, a really crisp, cold bubbly drink is amazing. If I’m serving it in the summer, I love having a pitcher of my honey lemon iced tea nearby; the tart citrus just cuts through the fat and sugar perfectly.
- Simple Fresh Fruit: Don’t complicate the plate! A small bowl of tart raspberries or even crisp green apple slices alongside the fudge is wonderful. The acidity really wakes up your taste buds.
- Nuts on the Side: If you didn’t add pecans or walnuts into the fudge itself, serving a small bowl of toasted, slightly salted almonds on the side gives you that needed crunch and salty counterpoint.

It’s simple stuff, but when you spend time getting the fudge right, the pairing shouldn’t be stressful. Keep it clean so that beautiful brown sugar flavor really stands out!
Quick Answers About Making Brown Sugar Fudge
People always have questions when stovetop candy is involved, and that’s totally fine! Making this Brown Sugar Fudge is straightforward, but the cooking part requires precision. We want to make sure everyone gets that perfect texture without guessing—that’s the beauty of following a reliable recipe!
Can I make this Brown Sugar Fudge without a candy thermometer?
Yes, you absolutely can, but you have to be ready to test often! If you skip the thermometer, you rely on the cold water test. Get a glass filled with ice water ready next to your stove. When you think the syrup might be done, carefully dribble a drop or two into the cold water. If it instantly forms a soft, pliable ball that you can easily squish between your fingers, you’ve hit that soft-ball stage perfectly for creamy Brown Sugar Fudge. If it’s too hard right away, it’s overcooked!
How long does this easy fudge need to set?
Patience is the final ingredient in this easy fudge! Once you pour the mixture into your prepared pan, you must let it set completely at room temperature. I know it’s tempting to peek, but you really need several hours—I usually leave mine on the counter overnight, honestly. Trying to cut it too soon guarantees a sticky, messy disaster, and nobody wants that!
Why do I have to stop stirring once it boils?
This is crucial for any good stovetop candy recipe! Once the mixture begins that steady boil, you must stop stirring. Stirring introduces air bubbles and also encourages premature crystallization. If you keep agitating those sugar molecules while they heat up, they bond incorrectly, and you end up with gritty, grainy Brown Sugar Fudge instead of that beautiful smooth melt-in-your-mouth texture we are after.
Can I add nuts or marshmallows to this recipe?
I personally love the simplicity of the basic recipe, but if you want mix-ins, hold them until the very last step! Once the fudge has lost its gloss and you’ve done your vigorous stirring, pour it into the pan, and then immediately sprinkle your nuts or mini marshmallows on top. Don’t stir them in! They will gently sink a little bit as it cools, but this keeps them from dissolving or interfering with the final beat-down where we set the texture.
Estimated Nutritional Snapshot
I always feel a little bad listing this out, because let’s be honest, nobody is making this incredible Brown Sugar Fudge because they are worried about counting calories! This is a treat meant to be savored, not tracked rigorously. But, just so you have a general idea of what you are tucking into, here are the estimates based on my ingredient calculations.
Remember, this is just a guide, folks! If you use dark chocolate instead of semi-sweet, or if your milk fat content varies, these numbers will shift a bit. These estimates are for the small, bite-sized squares mentioned in the recipe.
- Serving Size: 1 square
- Calories: 120
- Fat: 5g (with 3g of that being saturated fat)
- Carbohydrates: 19g
- Protein: 1g
The sugar content is definitely there, coming in around 18g per piece, which is totally expected for a classic candy like this. So, enjoy sparingly, maybe with a robust cup of coffee, and don’t worry about the details! This is meant to be joy in a square!
Share Your Brown Sugar Fudge Creations
Well, that’s it! You’ve successfully navigated the soft-ball stage and created what I personally think is the best, creamiest Brown Sugar Fudge recipe out there. It’s not scary once you tackle that temperature test, is it?
Now, I absolutely live to hear how your candy turned out! Did your fudge get that perfect matte finish? Did you sneak a piece while it was still warm (I won’t tell!)? I want to see your setup! Drop a comment below and let me know how your first batch of this easy fudge went. Did you add any fun mix-ins at the end? Maybe you sprinkled some fancy sea salt on top?
If you loved this recipe and found it totally reliable, please give it a rating! Those stars really help other folks who are nervous about making stovetop candy for the first time feel confident enough to try it. Happy eating, and I can’t wait to read your kitchen adventures!
Print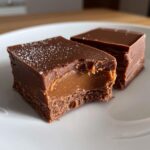
Simple Brown Sugar Fudge
- Total Time: 25 min
- Yield: 36 small squares 1x
- Diet: Vegetarian
Description
A straightforward recipe for making rich fudge using brown sugar.
Ingredients
- 1 cup granulated sugar
- 1 cup packed light brown sugar
- 1/2 cup milk
- 1/2 cup unsalted butter
- 1 teaspoon vanilla extract
- 1/4 teaspoon salt
- 1/2 cup semi-sweet chocolate chips
Instructions
- Line an 8×8 inch pan with parchment paper, leaving an overhang. Grease the paper lightly.
- Combine granulated sugar, brown sugar, milk, and butter in a heavy-bottomed saucepan.
- Heat the mixture over medium heat, stirring constantly until the sugar dissolves.
- Stop stirring once boiling begins. Insert a candy thermometer.
- Boil without stirring until the mixture reaches 234 degrees Fahrenheit (soft-ball stage). This usually takes about 8 to 10 minutes.
- Remove the pan from the heat immediately. Stir in the vanilla extract and salt.
- Add the chocolate chips. Let the mixture sit undisturbed for 5 minutes.
- Stir vigorously until the chocolate is completely melted and the mixture thickens and loses its gloss. This takes several minutes of beating.
- Pour the fudge into the prepared pan. Do not scrape the sides of the pan.
- Let the fudge cool completely at room temperature for several hours until firm.
- Lift the fudge out using the parchment overhang. Cut into small squares.
Notes
- For best results, use a heavy saucepan to prevent scorching.
- Do not overcook the mixture past the soft-ball stage, or the fudge will become crumbly.
- If you do not have a candy thermometer, drop a small amount of the syrup into cold water; it should form a soft, pliable ball.
- Prep Time: 10 min
- Cook Time: 15 min
- Category: Dessert
- Method: Stovetop Cooking
- Cuisine: American
Nutrition
- Serving Size: 1 square
- Calories: 120
- Sugar: 18g
- Sodium: 30mg
- Fat: 5g
- Saturated Fat: 3g
- Unsaturated Fat: 2g
- Trans Fat: 0g
- Carbohydrates: 19g
- Fiber: 0g
- Protein: 1g
- Cholesterol: 10mg
Keywords: brown sugar fudge, easy fudge, chocolate fudge, stovetop candy, soft ball stage