
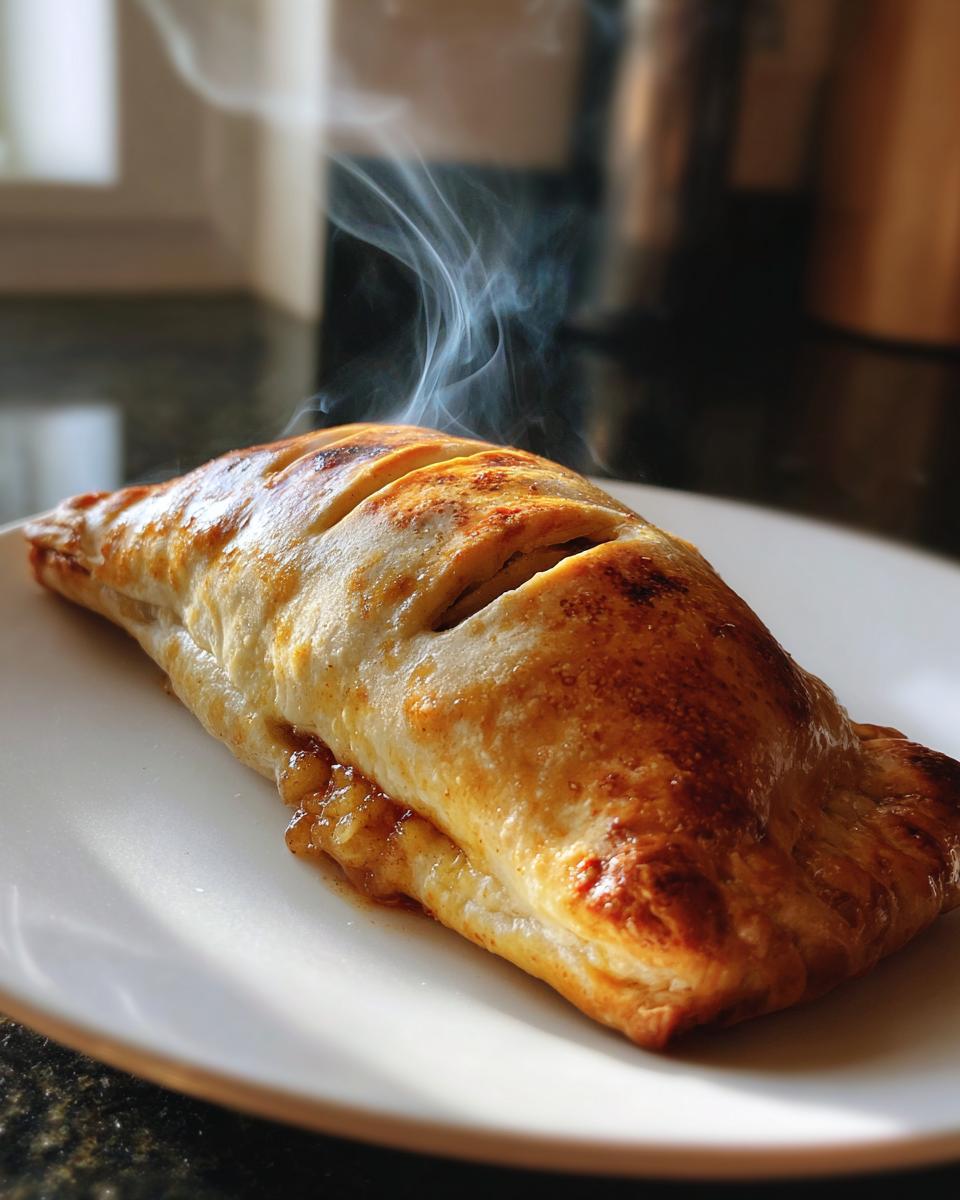
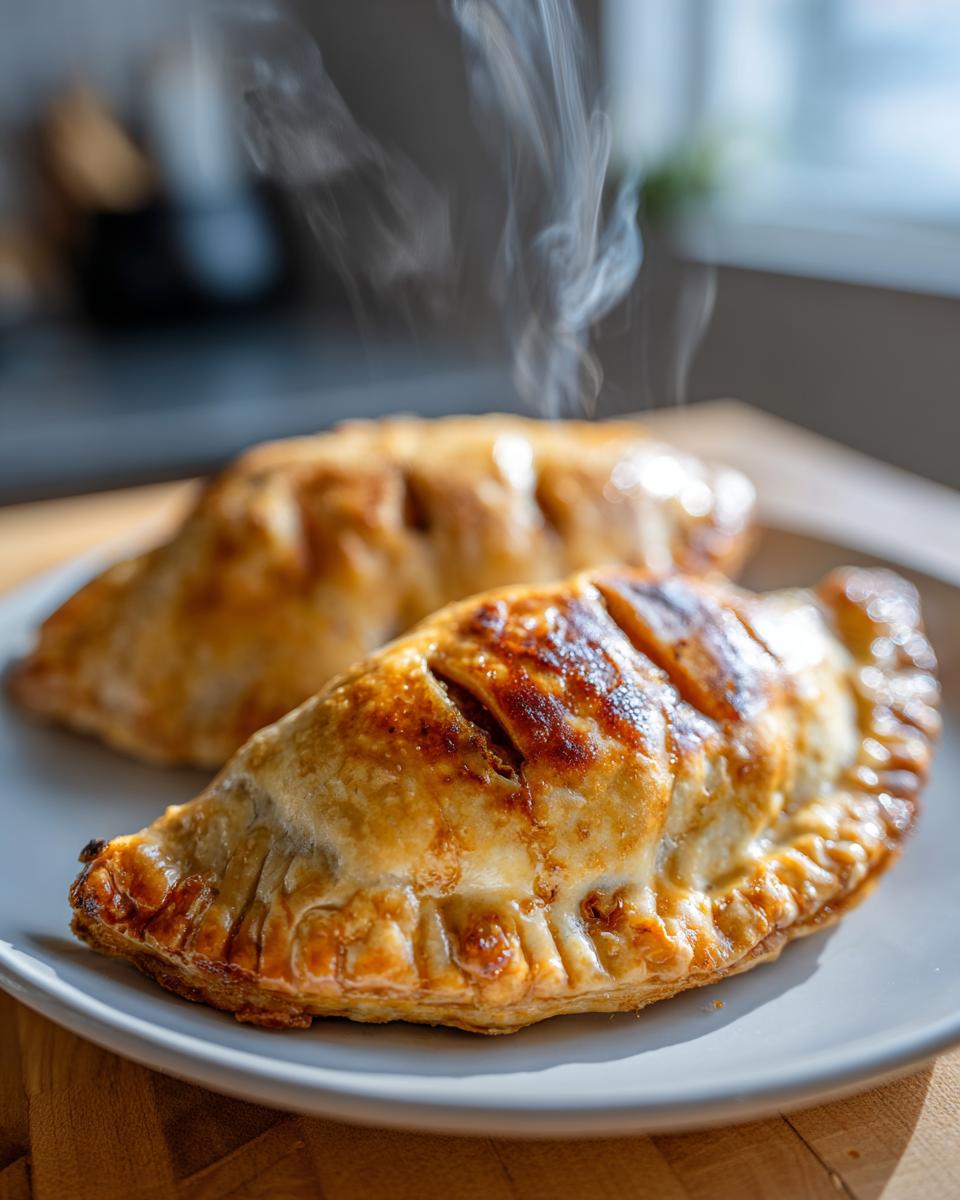
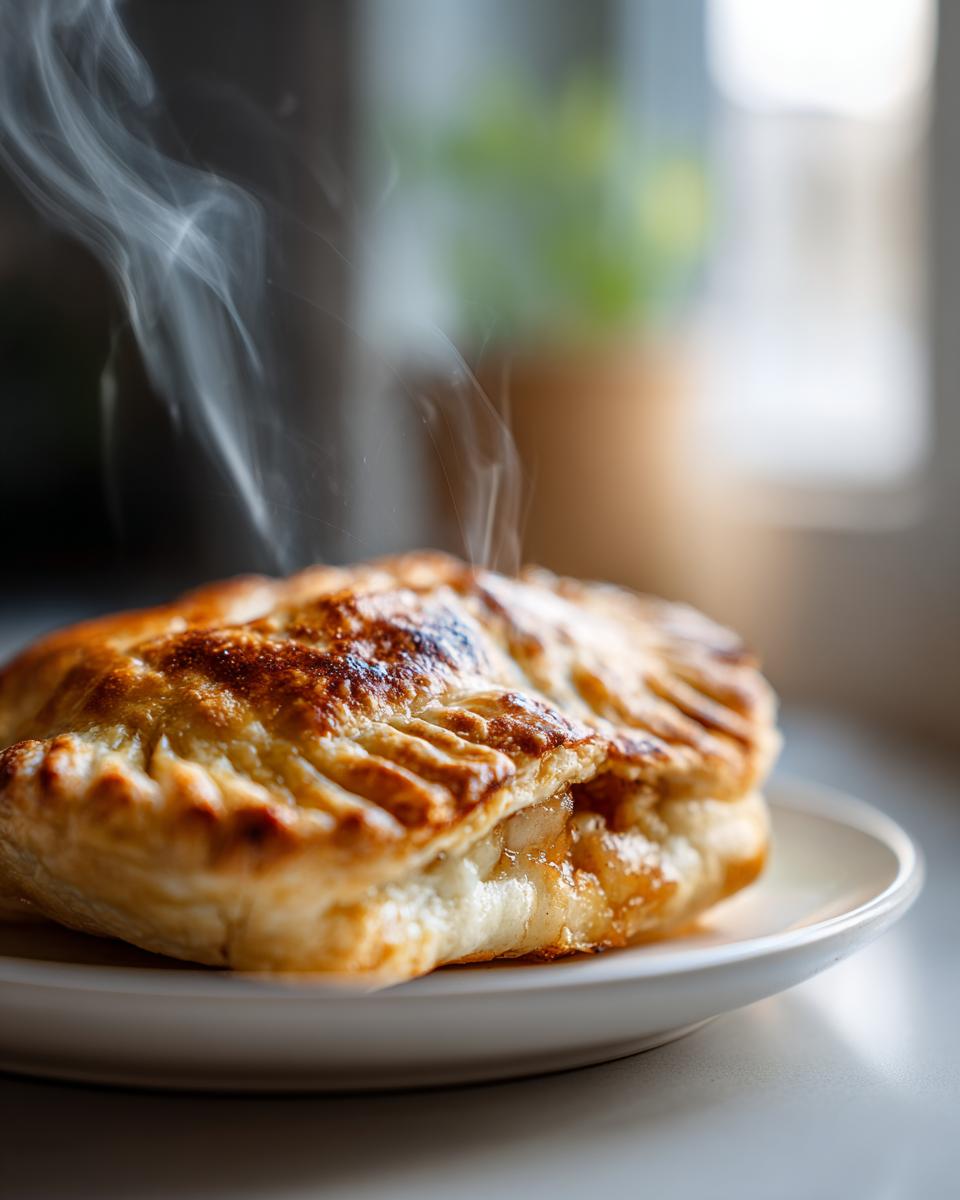
Oh, there’s just something magical about a warm, homemade pie, isn’t there? And apple pie? It’s a classic for a reason! But sometimes, you just can’t deal with a whole big pie, or you want something portable for a picnic or a treat on the go. That’s where these beauties come in! My absolute favorite thing about making these Best Apple Hand Pies is how surprisingly simple they are, and the fact that you get that perfect, flaky crust and sweet, spiced apple filling in a cute, individual package. I remember the first time I pulled a tray of these golden little gems out of the oven – the smell alone was pure bliss! They’re just so darn satisfying, and honestly, making them is even more fun than eating them (and that’s saying something!).

Why You’ll Love These Best Apple Hand Pies
Seriously, get ready to fall in love with these little pockets of joy! They’re not just delicious, they’ve got a whole bag of tricks up their flaky crusts:
- Super Easy to Make: Even if you’re a total baking newbie, you can totally nail these. The dough comes together like a dream!
- Perfectly Portioned Delight: Each little pie is just the right size for one person. No need to slice up a whole pie, which is perfect for portion control (or just easy grabbing!).
- Bursting with Delicious Spice: We’re talking the perfect blend of cinnamon and nutmeg that just screams cozy autumn vibes, no matter the season.
- Your Portable Treat: Pop one in your lunch bag, take it on a hike, or enjoy it on a park bench. They’re the ultimate grab-and-go dessert.
- Great for Sharing (or Not!): These are fantastic for potlucks, parties, or just bringing smiles to your family. But hey, if you want to keep them all to yourself, I won’t tell anyone!
- Taste of Pure Nostalgia: Every bite just takes you back to simpler times, that sweet, comforting flavor you can’t quite get from anything store-bought.
Gather Your Ingredients for the Best Apple Hand Pies
Alright, get your shopping list ready because we’re about to gather some goodies for the most amazing apple hand pies you’ll ever make! Trust me, having all your ingredients prepped makes the whole process so much smoother. You’ll need the usual suspects for a flaky pie crust: all-purpose flour, a little salt, and, crucially, super cold, unsalted butter cut into cubes. Oh, and don’t forget some ice water – it’s key for that perfect crust texture! For that luscious apple filling, grab about four medium apples, peeled, cored, and nice and chopped. You’ll also want some granulated sugar, a touch more flour, fragrant cinnamon, a pinch of nutmeg, and a splash of lemon juice to brighten everything up. And for that beautiful golden finish, have a large egg ready for an egg wash and a little extra sugar for sprinkling. It might seem like a bit, but it all comes together like magic!
Step-by-Step Guide to Making the Best Apple Hand Pies
Alright, let’s get down to business and make these amazing hand pies! It’s really not as daunting as it might seem, especially when you break it down. We’re going to make a super simple dough, whip up a quick and tasty apple filling, and then assemble these little beauties to perfection. Just follow along, and you’ll have golden, flaky hand pies in no time! You can even pair these with a refreshing drink, like this amazing apple cinnamon detox water.
Preparing the Perfect Pie Dough
First things first, let’s make our dough. Grab a big bowl and whisk together 2 and a half cups of all-purpose flour with a teaspoon of salt. Now, this is where the magic happens for a flaky crust: cut in one cup of cold, cold unsalted butter. I like to use my fingertips for this, but a pastry blender works great too! You want it to look like coarse crumbs, with some pea-sized bits of butter still floating around – trust me, those bits become pockets of flaky goodness. Then, it’s time for the ice water. Add it a tablespoon at a time, mixing gently, until the dough just starts to come together. Don’t overmix! It should look shaggy. Pop it into two flattened discs, wrap them up tight in plastic wrap, and let them chill in the fridge for at least 30 minutes. This keeps everything nice and cold, which is crucial!
Crafting the Delicious Apple Filling
While the dough is chilling, let’s get our apple filling ready. In a separate bowl, toss together about 4 cups of chopped, peeled, and cored apples. I love using Granny Smith for their tartness, but really, any good baking apple works! Add in 3/4 cup of sugar, 1/4 cup of flour (this helps thicken things up), a teaspoon of cinnamon, and a pinch of nutmeg. Give it all a good stir. Finally, add a tablespoon of lemon juice. This not only adds a little brightness but also stops those apples from turning all brown and sad while they wait.
Assembling and Baking Your Best Apple Hand Pies
Okay, dough’s chilled, filling’s ready – let’s assemble! Preheat your oven to a nice hot 400°F (200°C) and line a couple of baking sheets with parchment paper. This is a lifesaver for cleanup! On a lightly floured surface, roll out one of your dough discs into about a 12-inch circle. Cut out 6 circles – a 4-inch round cutter works perfectly. You’ll do the same with the other disc, giving you 12 circles total. Now, spoon about 2 tablespoons of that yummy apple filling onto one half of each dough circle, leaving a little border around the edge. Lightly brush the edges with water – this is our ‘glue’! Fold the other half of the dough over the filling to create that classic half-moon shape. Crimp the edges with a fork to seal them up tight, so no delicious filling escapes. You’ll want to cut a few little slits on top of each pie to let the steam escape while they bake. Pop those beauties onto your prepared baking sheets. Now for the shiny finish: brush the tops with your beaten egg wash and sprinkle them with the extra 2 tablespoons of sugar for a lovely crunch and sparkle. Bake for about 20 to 25 minutes, or until they’re beautifully golden brown and you can see the filling bubbling through those little vents. Let them cool on the baking sheets for a few minutes before moving them to a wire rack to cool completely. It’s hard to wait, I know, but they’re worth it!
Tips for Making the Best Apple Hand Pies
Okay, so you’ve got the basic recipe, but sometimes a little extra tweaking can make these even more spectacular! If you want a truly crisp crust, make SURE your butter and water are ice cold when you start the dough. Seriously, it makes all the difference for flakiness. Don’t be afraid to mix up the apples too! A Honeycrisp adds sweetness while a Granny Smith gives that lovely tartness. For extra spice? A tiny pinch of ground cloves or even a whisper of cardamom can be amazing. Also, if you’re worried about soggy bottoms, blind baking the bottom crust for a few minutes before adding the filling can work wonders. And hey, if you’re craving something fizzy and refreshing to go with them, try this amazing apple cinnamon fizz mocktail – it’s a match made in heaven!
Ingredient Notes and Substitutions for Apple Hand Pies
Let’s chat about some of the ingredients for these apple hand pies. For the apples, I really love a mix of tart and sweet – Granny Smith is a classic for its firmness and tang, but adding something like a Honeycrisp or Fuji brings a lovely sweetness. If you’re in a pinch and don’t have time to make the dough from scratch (no judgment here!), store-bought pie crust works perfectly well. Just make sure to let it soften *just* enough so it doesn’t crack when you roll it out. You could also experiment with a touch of maple syrup or brown sugar in the filling if you’re looking for a different kind of sweetness!
Serving and Storage for Your Best Apple Hand Pies
These best apple hand pies are seriously divine served warm, maybe with a little scoop of vanilla ice cream melting into the side, or just a simple dusting of powdered sugar. If you happen to have any leftovers (big ‘if’!), they’re happy to hang out on the counter for a day or two in an airtight container. If you need them to last longer, pop them in the fridge. To reheat, just pop them in a slightly warm oven for a few minutes until they’re cozy again. You can even freeze them baked or unbaked for later – just wrap them up tight!
Frequently Asked Questions About Best Apple Hand Pies
Got questions about these little pockets of apple goodness? I’ve got answers! Here are a few things people often ask:
Can I make the pie dough ahead of time?
Absolutely! Make the dough up to two days in advance and keep it wrapped tightly in the fridge. It actually gets even better when it rests! Just let it sit on the counter for about 15-20 minutes before you plan to roll it out so it’s not too stiff.
What are the best apples for hand pies?
For the best flavor and texture, I really love using a mix! Granny Smith apples are fantastic because they hold their shape and have a nice tartness that balances the sweetness. Mixing in a sweeter, softer apple like Honeycrisp, Fuji, or Gala adds another layer of flavor and a slightly different texture. Just make sure they’re firm apples that won’t turn to mush when baked!
How do I prevent the bottom crust from getting soggy?
Ah, the dreaded soggy bottom! My best tip is to make sure your oven is fully preheated to 400°F (200°C) before your pies go in. Also, ensure your filling isn’t too wet – if it seems super juicy, you might add an extra teaspoon of flour. Placing the pies on a preheated baking sheet can also help crisp up the bottom crust faster. And don’t forget those steam vents! For a truly refreshing drink to go with these, you should totally check out this amazing 5-minute apple cinnamon detox water.
Can I use store-bought pie crust?
Definitely! If you’re short on time, store-bought pie crust is a total lifesaver and works beautifully for these hand pies. Just follow the package directions for thawing and rolling it out. The main difference you might notice is that homemade dough often has an extra layer of flakiness from all the love (and cold butter!) you put into it, but either way, you’ll have delicious apple hand pies!
Nutritional Information (Estimated)
Just a heads-up, these numbers are approximate since everyone’s ingredients can vary a bit! We’re looking at around 350 calories per pie, with about 18 grams of fat (that’s the butter and apples working their magic!). You’ll get roughly 45 grams of carbs, including about 3 grams of fiber, and about 4 grams of protein. Sugar content is around 20 grams, mostly from those lovely apples and a touch of added sugar. Totally worth it, right?
Print
Best Apple Hand Pies
- Total Time: 55 min
- Yield: 12 servings 1x
- Diet: Vegetarian
Description
Delicious and easy-to-make apple hand pies perfect for a sweet treat.
Ingredients
- 2 1/2 cups all-purpose flour
- 1 teaspoon salt
- 1 cup (2 sticks) cold unsalted butter, cut into cubes
- 1/2 cup ice water
- 4 cups peeled, cored, and chopped apples (about 4 medium)
- 3/4 cup granulated sugar
- 1/4 cup all-purpose flour
- 1 teaspoon ground cinnamon
- 1/4 teaspoon ground nutmeg
- 1 tablespoon lemon juice
- 1 large egg, beaten (for egg wash)
- 2 tablespoons granulated sugar (for sprinkling)
Instructions
- In a large bowl, whisk together 2 1/2 cups flour and salt. Cut in the cold butter using a pastry blender or your fingertips until the mixture resembles coarse crumbs. Gradually add ice water, 1 tablespoon at a time, mixing until the dough just comes together. Divide the dough in half, flatten into discs, wrap in plastic wrap, and refrigerate for at least 30 minutes.
- In a separate bowl, combine chopped apples, 3/4 cup sugar, 1/4 cup flour, cinnamon, and nutmeg. Stir in lemon juice.
- Preheat your oven to 400°F (200°C). Line baking sheets with parchment paper.
- On a lightly floured surface, roll out one disc of dough into a 12-inch circle. Cut out 6 (4-inch) circles. Repeat with the second disc of dough.
- Place about 2 tablespoons of the apple filling onto one half of each dough circle, leaving a 1/2-inch border.
- Moisten the edges of the dough with water. Fold the other half of the dough over the filling to create a half-moon shape. Crimp the edges with a fork to seal.
- Cut a few small slits in the top of each hand pie to allow steam to escape.
- Place the hand pies on the prepared baking sheets. Brush the tops with the beaten egg wash and sprinkle with 2 tablespoons of sugar.
- Bake for 20-25 minutes, or until golden brown and the filling is bubbly.
- Let cool on the baking sheets for a few minutes before transferring to a wire rack to cool completely.
Notes
- For crispier crust, ensure your butter and water are very cold.
- You can use store-bought pie crust to save time.
- Add a pinch of ground cloves for extra spice.
- Prep Time: 30 min
- Cook Time: 25 min
- Category: Dessert
- Method: Baking
- Cuisine: American
Nutrition
- Serving Size: 1 pie
- Calories: 350
- Sugar: 20g
- Sodium: 200mg
- Fat: 18g
- Saturated Fat: 11g
- Unsaturated Fat: 7g
- Trans Fat: 0g
- Carbohydrates: 45g
- Fiber: 3g
- Protein: 4g
- Cholesterol: 45mg
Keywords: apple hand pies, apple pies, fruit pies, dessert recipes, baking, easy recipes