
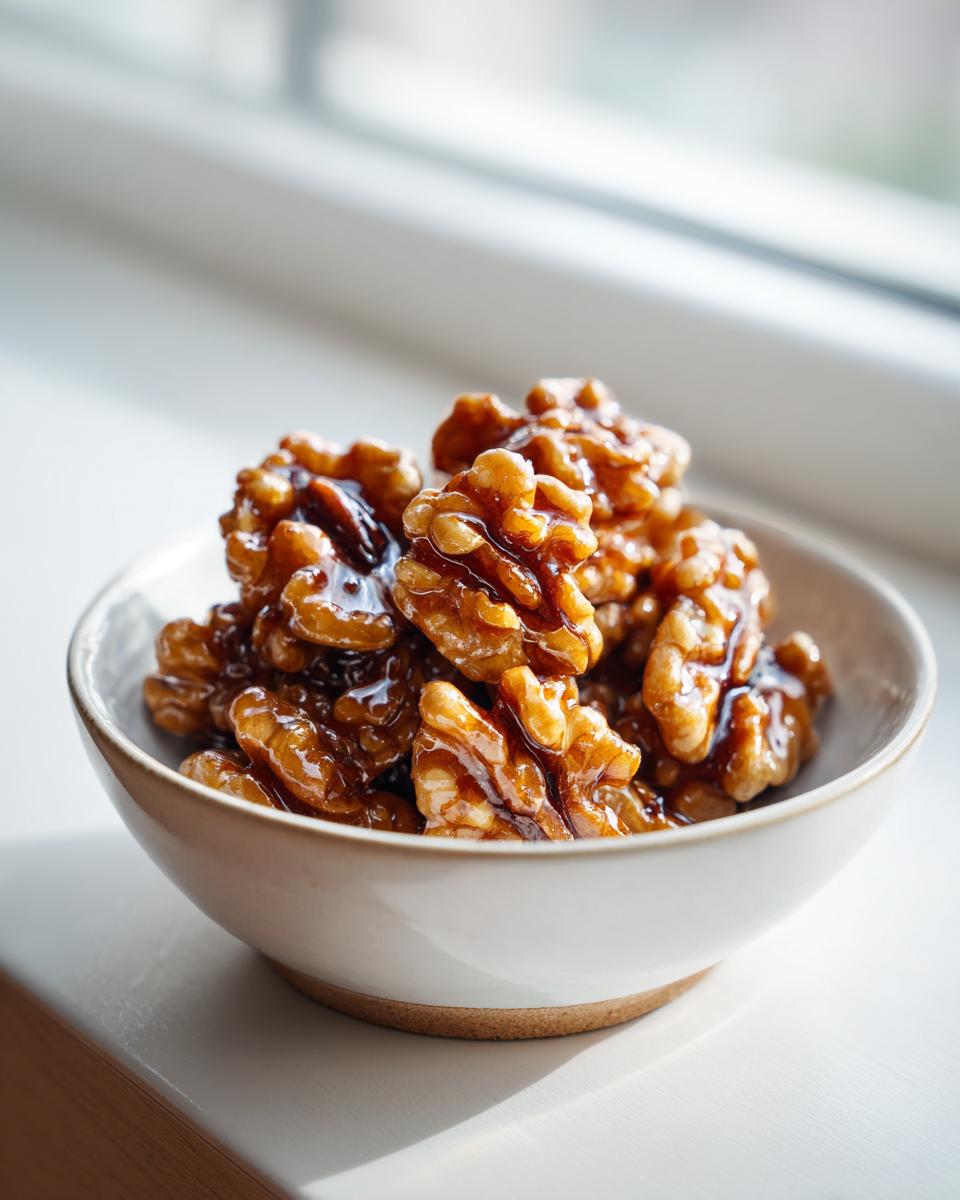
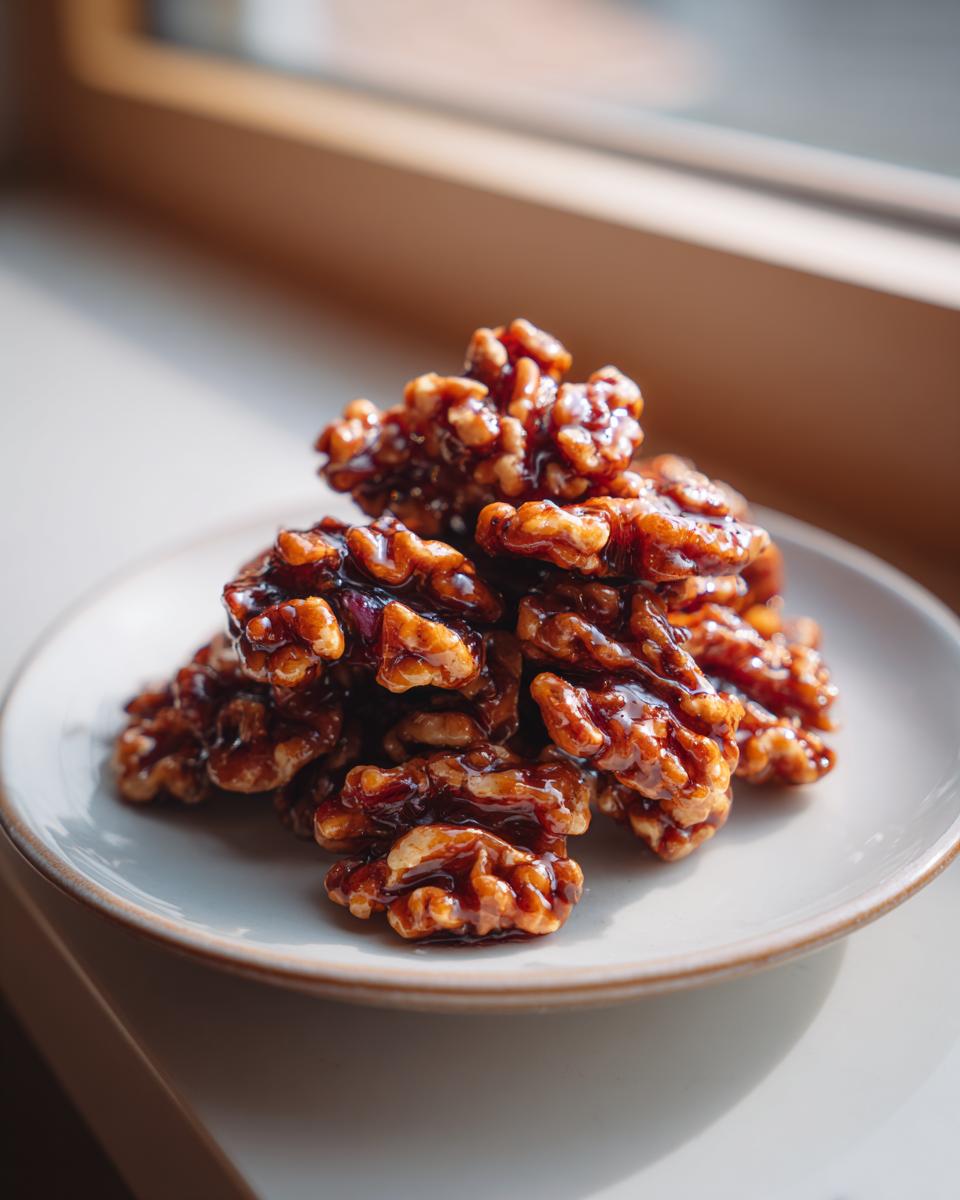
Oh my gosh, let me tell you about these maple candied walnuts. Seriously, the sound they make when you crunch down on them—that perfect, crackly snap—it’s addictive! I used to buy those pricey little bags from the gourmet stores, but once I figured out how simple it is to make them myself, I never looked back. This Maple Candied Walnut Recipe is honestly the easiest, most authentic way to get that sweet, crunchy perfection right in your own kitchen. It’s so quick; you’ll wonder why you waited so long to try making your own batches of sweet nuts!

Why This Maple Candied Walnut Recipe Works So Well
I know you might be tempted to try stovetop candy making, but trust me on this one—baking is the secret weapon for perfect candied walnuts. When you bake them, the syrup dries evenly around the nut without the risk of burning the bottom layer. It gives you total control over the texture, which is everything when aiming for that satisfying crunch!
Plus, it fits right into my hectic baking schedule. There’s almost no downtime, which I absolutely love. You can find other sweetener guides, like how to make a basic simple syrup, but for these nuts, baking is non-negotiable for the best results.
Quick Prep Time for Your Maple Candied Walnut Recipe
Seriously, the hands-on time for this entire Maple Candied Walnut Recipe is under five minutes! You just toss everything together, spread it out, and let the oven do the heavy lifting. It’s the ultimate snack when you need something fast but impressive.
Perfectly Crunchy Coating Every Time
Baking at a lower temperature, like 300 degrees, allows the moisture in the maple syrup to evaporate slowly. This is what creates that beautiful, hard, non-sticky shell when they cool down. No worries about chewy nuts here; this method guarantees that satisfying shatter!
Essential Ingredients for Your Maple Candied Walnut Recipe
When you’re making something this simple, the quality of your ingredients really shines through, which is why I’m so strict about what goes into this Maple Candied Walnut Recipe. If you skimp here, you’ll definitely notice it in the final flavor. It’s not complicated, but every single item needs to be right.
First up, the walnuts! You must use walnut halves if you can find them. The recipe calls for exactly one cup, and using halves means you don’t have to worry about chopping or crushing them beforehand, which saves time and keeps them looking nice. I always visually check them to make sure they look fresh and haven’t gone bitter.
Next is the star: the maple syrup. Please, please use *pure* maple syrup, not the thin pancake stuff made out of corn syrup. That genuine maple flavor is what separates these from being just ‘sugary nuts’ to truly special maple syrup walnuts. We use a quarter cup of the good stuff, mixed with just a tablespoon of water to help thin the glaze slightly before it hits the high heat.
Finally, we need a tiny pinch of salt—just a quarter teaspoon. Don’t skip that salt! It balances out all that pure, intense sweetness. That’s it! Nuts, maple, water, salt. It’s proof that the best things in life—and the best sweet nuts—are usually the simplest recipes.
Step-by-Step Instructions for the Maple Candied Walnut Recipe
Now we get to the fun part—actually making these amazing maple candied walnuts! Remember I told you this is a baking method? That’s because it gives you that beautiful, even shell. Set your timers, because timing is everything near the end. We’re starting low and slow to dry things out perfectly before giving them a quick blast of heat to finish the candy.
- First things first, get that oven warmed up to 300 degrees Fahrenheit. While it’s heating, take a spare baking sheet and line it with parchment paper. Don’t try to skip the parchment, even if you usually trust your pans; sticky is the enemy here!
- Grab a little bowl for your glaze mix. You’re just going to whisk together that pure maple syrup, the tablespoon of water, and the quarter teaspoon of salt. It only takes a moment until they look combined.
- Time for the tossing! Put your cup of walnut halves into a medium bowl and pour that beautiful maple mixture right over them. Use a spatula or a wooden spoon and toss them around until every single walnut piece is glistening and fully coated. Seriously, make sure they all get a bath in that syrup.
- Next, spread them all out onto that prepared baking sheet. This is crucial: spread them into a single layer. If they are piled up, they will steam instead of bake, and we want crispness, not sogginess!
Oven Preparation and Coating Mixture
We already talked about preheating to 300°F, which is the gentle temperature we need to let that maple candy set without scorching. When you mix the syrup, water, and salt, make sure you whisk until that salt is completely dissolved. That little bit of water helps keep the syrup slightly smoother when you first pour it over the nuts, ensuring a better initial coat. Be generous when you toss them—no bare walnut spots allowed!
Baking and Achieving the Perfect Crispness
The first bake is 15 minutes exactly. When that timer goes off, pull the sheet out and give those walnuts a good stir right there on the pan. This redistributes them so any spots that were touching each other don’t stick permanently. Then, pop them back in for another 10 to 15 minutes. Now, listen up, this is where you have to stay close! Around the 10-minute mark, check them every couple of minutes. You want the syrup to look bubbly and turn just a *light* golden brown. If they get dark brown, they are burning, and that flavor is bitter. You can find more baking tips over at this cider recipe guide, which understands temperature control!
When they look perfect, pull them out immediately. Spread them quickly back into a single layer if they clumped while stirring, and then—this is the hardest part—you must let them cool completely right there on that baking sheet. They won’t feel totally crisp straight out of the oven, but they magically firm up as they cool down. Wait until they are room temperature before attempting to break up any clumps you might have!
Tips for the Best Maple Candied Walnut Recipe Results
Even though this Maple Candied Walnut Recipe is super straightforward, there are a couple of little tricks I learned the hard way that make a huge difference between a decent batch and a truly phenomenal one. You want those nuts to be shatteringly crisp, not sticky messes you have to pry apart later, right? It all comes down to quality and patience during the final stages.
My main goal when finishing these is ensuring that beautiful maple coat dries hard and clear. If you try to rush the cooling time, you’ll end up with a sticky layer that just adheres to your storage container. Don’t do it to yourself—patience is key!
Ingredient Quality Matters for Maple Candied Walnut Recipe
I can’t stress this enough: you absolutely need good, pure maple syrup. When you’re only using four ingredients, the flavor profile hinges almost entirely on that syrup. If you use anything else, you lose that deep, woodsy sweetness that pairs so perfectly with the earthy walnuts. You might think adding flavors like cinnamon or nutmeg is a good idea (and you can, see later!), but if the base sweetener isn’t pure maple, honestly, just skip it. You deserve the best flavor for your Maple Candied Walnut Recipe!
The Crucial Cooling Step
This is perhaps the most important non-baking step. Once you pull those candied walnuts out of the oven and spread them immediately onto parchment paper to separate them, you have to walk away! Seriously, go do something else for at least 30 minutes. If you mess with them while they are even slightly warm, the candy coating will soften up again, and they’ll stick back together into one big clump. Let the sheet cool completely on the counter, and they will transform from slightly sticky sweet nuts into perfect, crunchy snacks.
Maple Candied Walnut Recipe Variations and Substitutions
This Maple Candied Walnut Recipe is fantastic as is, but I love tinkering when I have a little extra time. You mentioned substitutions in the notes, and yes, you can absolutely swap maple syrup out if you run low, though I think you lose that signature woodsy taste. If you do sub it, stick to dark brown sugar—it has more molasses flavor than white sugar. You might need to add a tiny splash more water to get the right coating consistency, so just watch it carefully.
My favorite way to change things up is by adding spices! Just a quarter teaspoon of ground cinnamon along with the salt, or maybe even a tiny pinch of ground nutmeg, gives these sweet nuts an amazing warmth, especially great for fall snacking. You can see some great flavor pairings in this Old Fashioned recipe that give you an idea of how warm spices work with maple notes.
Just remember, whatever you choose, store your finished candied walnuts in an airtight container at room temperature. They stay perfectly crisp for about two weeks, but honestly, mine never last that long!
Serving Suggestions for Your Maple Candied Walnut Recipe
Okay, once you have this incredible treasure trove of sweet nuts, what do you do besides sneak handfuls straight from the container? The possibilities are endless, really! These Maple Candied Walnuts bring an instant gourmet touch to almost anything sweet or savory.
They are magnificent chopped up and sprinkled over a bowl of Greek yogurt or oatmeal in the morning. But you absolutely have to try them on a salad. They pair unbelievably well with bitter greens, like arugula, and some tangy goat cheese. You can find inspiration for great flavor profiles in this chicken salad recipe that incorporates similar crunchy elements.
Also, don’t forget a cheese board! These candied walnuts are a must-have alongside brie or sharp cheddar. They provide that perfect sweet counterbalance to salty cheeses. Seriously, try these, and you’ll never look at plain old walnuts the same way again!

Storage Guide for Maple Candied Walnut Recipe Leftovers
Storing these crispy beauties is super simple, but you do have to follow one rule if you want them to stay crunchy! Please, no matter how tempting it is, don’t put them in the fridge. Moisture is the enemy, and the fridge tends to be damp, turning your perfectly crunchy Maple Candied Walnuts soft overnight. That’s a baking tragedy, trust me.
The absolute best spot for them is an airtight container sitting right on your kitchen counter at room temperature. If you seal them up tight, these sweet nuts will stay perfectly crisp and delicious for up to two whole weeks. I usually label the container with the date, but honestly, they rarely last past the first week in my house because everyone grabs a handful!
Frequently Asked Questions About the Maple Candied Walnut Recipe
I always get so many questions once people see how awesome these homemade maple candied walnuts turn out! It seems tricky, but once you know the secrets, you’re golden. Here are some of the things readers ask me when they start trying out this Maple Candied Walnut Recipe for the first time.
Can I make this Maple Candied Walnut Recipe without an oven?
You totally can, but honestly, I don’t recommend it if you’re aiming for that perfect coat. The stovetop method involves cooking the syrup mixture until it reaches a hard-ball stage, and you have to stir the nuts constantly while it’s bubbling hot. It’s much easier for the sugar to scorch, and you’ll likely end up with a thicker, more uneven coating. Baking just guarantees those lovely, thin layers on your sweet nuts!
How long do these sweet nuts take to cool and crisp?
This is all about hands-off time! After you pull them out of the oven, you need to spread them thin and then just leave them alone. I usually say plan on 30 to 60 minutes for them to cool completely to room temperature. Don’t be tempted to poke them or try to pry them apart before they’re fully cool; that’s when they turn sticky again. Patience is the secret ingredient to getting that perfect candied walnuts baking time to pay off!
If you’re ready to bake up a batch—which I hope you are—check out the full recipe details right above this section!
Estimated Nutritional Snapshot for Maple Candied Walnuts
Okay, while these Maple Candied Walnuts are truly heavenly, I always feel a little sketchy giving out exact nutritional counts for homemade goodies like this. You know how it is—even using pure maple syrup that I love so much means that the exact sugar and calorie count can jump around depending on the brand of walnuts or how heavily I glazed them that day!
So, please take anything you see online with a grain of salt regarding nutrition. For this specific Maple Candied Walnut Recipe, the numbers are just estimates, and they are highly dependent on how perfectly you drain every drop of excess syrup before they go into the oven. Brands vary, and measuring syrup consistently can be tricky!
What I can tell you is that these are definitely a treat. But when you use real maple syrup, you get some real flavor depth that you just don’t get from plain white sugar. Since these are rich in walnuts, you are getting great healthy fats, but remember, they are coated in delicious sugary maple, so enjoy them in moderation!
Print
Maple Candied Walnuts
- Total Time: 35 min
- Yield: 1 cup 1x
- Diet: Vegetarian
Description
Simple recipe for making sweet, crunchy candied walnuts using maple syrup.
Ingredients
- 1 cup walnut halves
- 1/4 cup pure maple syrup
- 1 tablespoon water
- 1/4 teaspoon salt
Instructions
- Preheat your oven to 300 degrees Fahrenheit. Line a baking sheet with parchment paper.
- In a small bowl, mix the maple syrup, water, and salt until combined.
- Place the walnuts in a medium bowl. Pour the maple syrup mixture over the walnuts and toss until they are evenly coated.
- Spread the coated walnuts in a single layer on the prepared baking sheet.
- Bake for 15 minutes. Remove from the oven and stir the walnuts.
- Return to the oven and bake for another 10 to 15 minutes, or until the coating is bubbly and lightly browned. Watch closely to prevent burning.
- Remove from the oven and let the walnuts cool completely on the baking sheet. They will crisp up as they cool.
- Break apart any clumps before storing.
Notes
- Store cooled candied walnuts in an airtight container at room temperature for up to two weeks.
- You can substitute brown sugar for maple syrup, adjusting the liquid slightly if needed.
- Prep Time: 5 min
- Cook Time: 30 min
- Category: Snack
- Method: Baking
- Cuisine: American
Nutrition
- Serving Size: 1/4 cup
- Calories: 280
- Sugar: 15
- Sodium: 80
- Fat: 24
- Saturated Fat: 2
- Unsaturated Fat: 22
- Trans Fat: 0
- Carbohydrates: 18
- Fiber: 3
- Protein: 5
- Cholesterol: 0
Keywords: maple, candied walnuts, sweet nuts, snack, baking, maple syrup walnuts