
Oh, the smell of fresh doughnuts—it just takes me right back to childhood fairs and those perfect Saturday mornings! There’s nothing like the real deal, that pillowy softness you can only get from a true yeast-raised treat. Forget those dense cake versions you get sometimes; we are talking about the authentic stuff. I spent what felt like months perfecting this recipe to make sure these Homemade Classic Glazed Doughnuts were absolutely perfect. I once thought my yeast wasn’t activating right because I didn’t warm the milk enough, and the dough wouldn’t double! But I finally figured out the perfect sweet spot, and now, when that yeast suddenly puffs up the dough, I know I’m in for a magical batch. Get your oil ready, because this is the best way to make them.
Why You Will Love These Homemade Classic Glazed Doughnuts
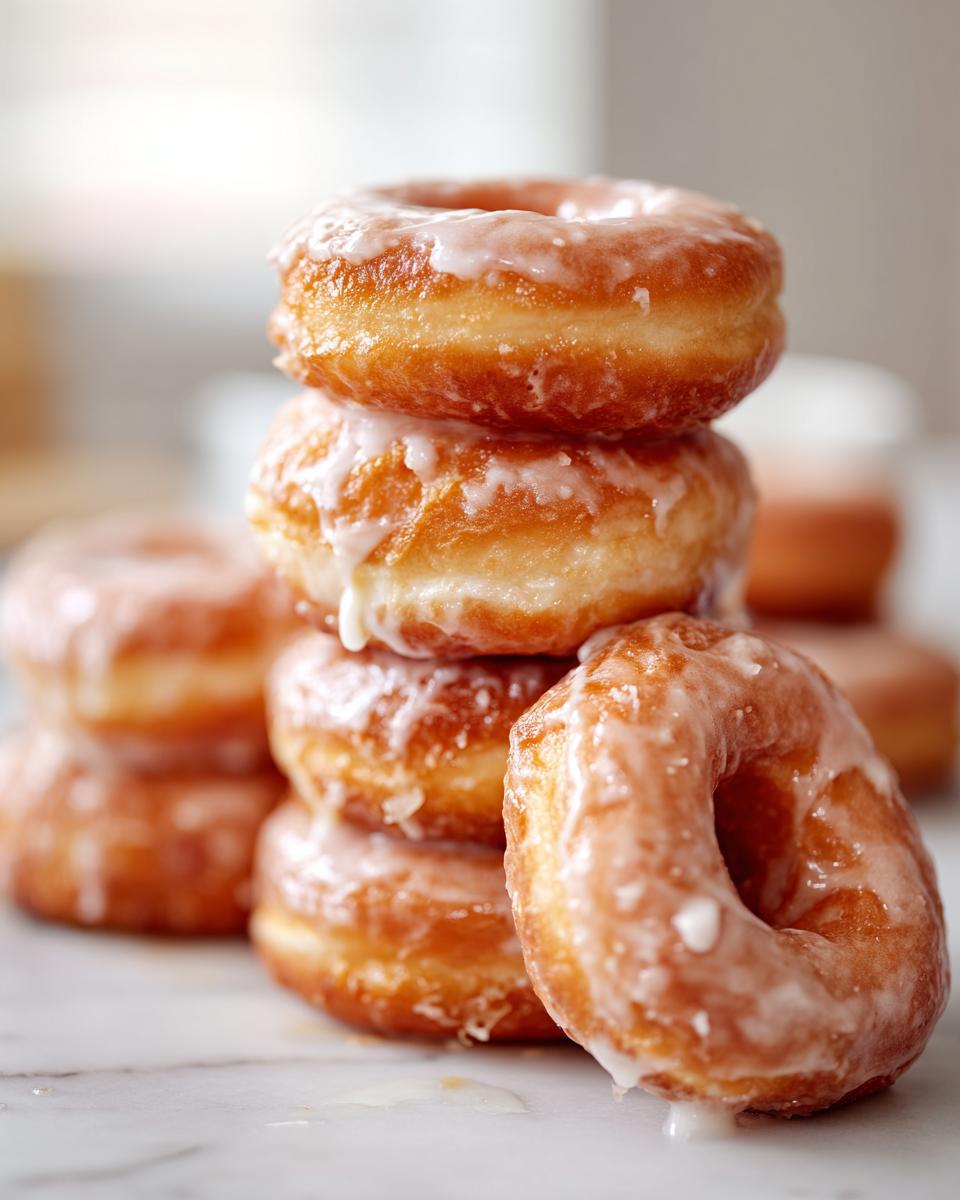
Honestly, making these is half the fun, but eating them? That’s the real prize. These aren’t just donuts; they are little clouds of fried happiness. I promise, once you make these from scratch, you won’t even look at store-bought ones again. They’re that good!

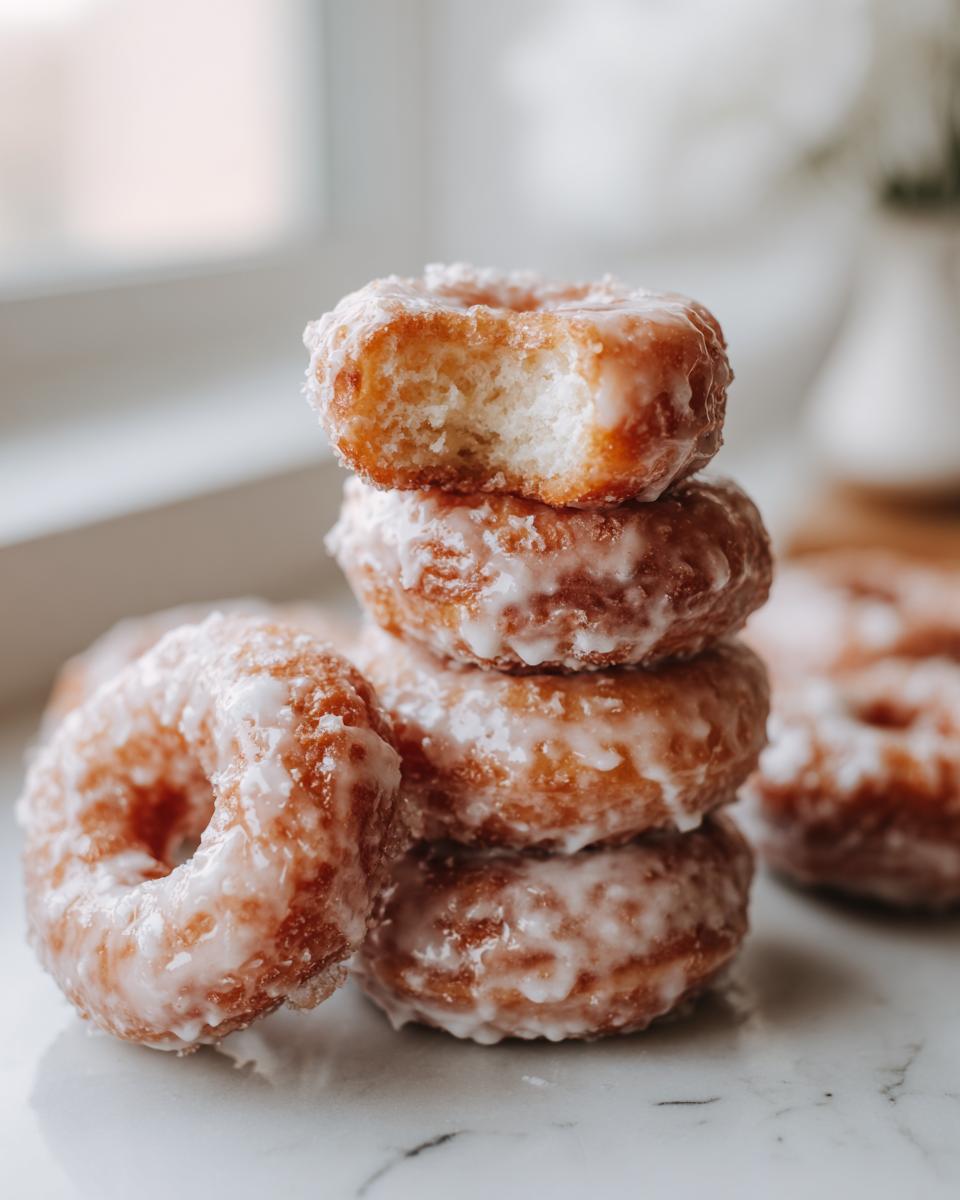
- The sheer satisfaction of watching yeast dough actually rise properly is worth the effort alone! You get that incredible, airy, chewy texture that cake donuts just can’t deliver.
- They taste exactly like the ones from the best old-fashioned donut shops—simple, perfectly sweet, and melt-in-your-mouth delicious.
- This recipe is a wonderful kitchen activity. You get to punch down the dough, roll it out, and feel like a true baker bringing joy to the breakfast table.
Authentic Yeast-Raised Texture
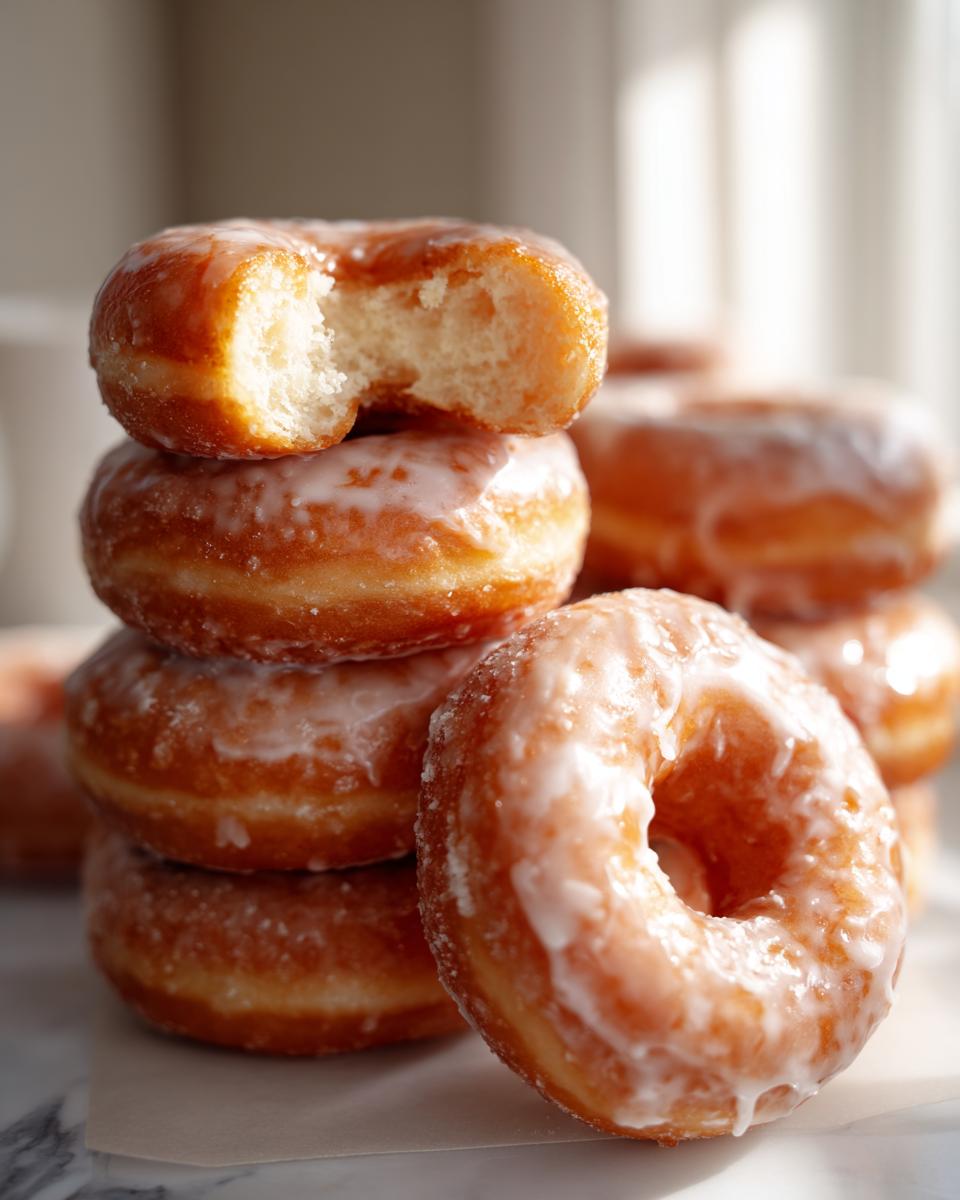
You absolutely must respect the yeast in this recipe! Cake donuts are quick, sure, but they are dense, right? These yeast doughnuts inflate beautifully in the hot oil. That’s where you get that beautiful, light chewiness and that signature hollow in the middle that’s just perfect for trapping all that sweet glaze.
Perfectly Sweet Homemade Classic Glazed Doughnuts
The glaze itself is intentionally uncomplicated. We aren’t messing around with complex flavors here. It’s the classic sugar coating that melts slightly onto the warm doughnut and then sets up into that satisfying, thin shell. These Homemade Classic Glazed Doughnuts will seriously redefine your weekend mornings.
Essential Ingredients for Homemade Classic Glazed Doughnuts
Getting the right ingredients makes all the difference, especially when you are relying on yeast to do the heavy lifting. Don’t skimp here, friends! Using good quality, fresh ingredients means you avoid a trip to dough-pocalypse city, which is where dense, sad doughnuts live.
We need to break this list down so you know exactly what goes where. The dough needs specific temperatures and textures—we can’t just toss everything in haphazardly!
Ingredients for the Dough
For the dough, make sure your whole milk is perfectly warmed up between 105°F and 115°F. If it’s too hot, you’ll kill your yeast, and then we’ve got a whole other sad story on our hands. Also, I always use a reliable brand of active dry yeast; if your yeast is old, that first foamy step won’t happen, and that’s your big warning sign!
- 1 cup warm milk (must be 105-115°F for yeast!)
- 2 1/4 teaspoons active dry yeast
- 1/4 cup granulated sugar plus 1 teaspoon separated for the yeast
- 1/2 teaspoon salt
- 2 large eggs, lightly beaten
- 1/4 cup unsalted butter, melted (and totally cooled before adding!)
- 3 1/2 to 4 cups all-purpose flour (keep that extra flour nearby for kneading!)
Ingredients for the Simple Glaze
The glaze is where things get really easy, but you absolutely need powdered sugar here. Granulated sugar will give you a grainy, cracked mess that doesn’t look right at all. We want smooth, shiny, melt-in-your-mouth goodness!
- 2 cups powdered sugar
- 1/4 cup milk (whole milk works best for richness)
- 1 teaspoon vanilla extract
Step-by-Step Instructions for Perfect Homemade Classic Glazed Doughnuts
Alright, this is where we stop dreaming and start frying! This process takes time because we are using real yeast, so put on some music and get ready to enjoy the process. Remember, patience is the secret ingredient for light, fluffy doughnuts—if we rush the rises, they won’t puff up like they should when they hit the oil.
Activating the Yeast and Making the Dough
First things first: wake up that yeast! Mix the warm milk, that tiny spoon of sugar, and the yeast together in your big greased bowl. Let it sit untouched for about 5 to 10 minutes. If you see a foamy cap forming on top, congratulations, your yeast is alive and ready to make magic! If nothing happens, toss it and start that step over with warmer milk.
Once foamy, stir in the rest of the sugar, the salt, the beaten eggs, and the melted butter—make sure that butter isn’t hot, or it will scorch the yeast! Now, start adding the four cups of flour gradually until you get a soft dough. You might not need all four cups, so stop when it just pulls away from the sides. Then, turn it out onto a lightly floured counter and knead it for about five minutes until it’s smooth. It should feel soft and slightly tacky, but not like a wet mess!
The Critical Rising Stages for Homemade Classic Glazed Doughnuts
We have two rises to get right for true texture. Pop that kneaded dough into that greased bowl, flip it over so it’s coated, cover it loosely with plastic wrap or a clean kitchen towel, and let it hang out somewhere warm for about an hour and a half, or until it’s doubled in size. Don’t cheat this first rise!
Once doubled, gently punch the air out (it’s very satisfying!) and roll the dough out to about half an inch thick. Use your doughnut cutter, place those cut shapes carefully on parchment-lined baking sheets. Cover them again and let them rise a second time for at least 30 minutes. They should look puffy and light—that’s your signal that these Homemade Classic Glazed Doughnuts are ready for the fryer!
Frying Technique for Golden Perfection
Heating the oil is the most intimidating part, but you can totally handle it! Fill a deep, heavy pot with about two inches of vegetable oil and heat it gently until it hits exactly 360°F. This temperature is crucial, so if you don’t have a thermometer, you can test it by dropping a small piece of dough in—if it sinks and then floats right back up bubbling happily, you’re good to go. If it browns instantly, the oil is too hot! If it just sits there soaking up oil, it’s too cool. Think of it like checking water temperature for iced tea; precision matters!
Fry them in small batches so you don’t drop the oil temperature too much—I usually do about three at a time. Cook for just one to two minutes per side until they are that perfect golden brown color. Use a slotted spoon to pull them out and immediately place them on a wire rack lined with paper towels to drain the excess oil. They fry so fast, you barely have time to blink!
Preparing and Applying the Classic Glaze
While the doughnuts are cooling slightly on the rack—and this is important—whisk together the powdered sugar, the quarter cup of milk, and the vanilla extract until you have a smooth, pourable mixture. If it seems too thick to dip easily, add milk just a teaspoon at a time. Remember, you want a glaze that coats but doesn’t smother.
The trick to the best glaze is the temperature of the doughnut! Don’t wait until they are stone cold. Dip each warm doughnut right into the glaze, coating the top and bottom quickly, and then place it right back onto the wire rack. The heat from the doughnut slightly melts the glaze, helping it settle into that beautiful, signature shell!
Tips for Success When Making Homemade Classic Glazed Doughnuts
Making these is a little bit of an art, I won’t lie, but once you nail the feel of the dough, you’re set for life. Most of my minor mishaps came from being too heavy-handed with adding flour or trying to rush the rises.
Flour Management for Light Homemade Classic Glazed Doughnuts
When you are kneading, resist the urge to dump in all four cups of flour right away, or you’ll end up with a stiff disk instead of fluffy clouds. Add flour just until the dough stops aggressively sticking to your counter, but it should still feel tacky! Similarly, when you roll it out before cutting, dust your surface lightly. If you use too much flour when rolling, it ends up incorporated into the finished doughnut and can make them taste dense or dry. Trust your hands—if it smooths out nicely during the kneading phase, you’re doing great!
Glaze Consistency Control
If your glaze ends up looking more like icing instead of a thin coating, don’t panic! It happens if your powdered sugar has absorbed a bit of air moisture. Just whisk in a tiny bit more milk—seriously, a teaspoon at a time—until it loosens up enough to dip easily. On the flip side, if you accidentally made it too thin (maybe you added too much milk when trying to thin it out?), just quickly whisk in another half cup of powdered sugar. The goal is something that coats nicely but drips off the excess quickly!
Ingredient Substitutions for Your Homemade Classic Glazed Doughnuts
We all run into those moments when the pantry is looking a little sad, right? Life happens! The good news is that these Homemade Classic Glazed Doughnuts are pretty flexible, provided you know how to manage the yeast. It’s definitely adaptable, but you have to respect the structure that yeast dough needs.
Yeast and Milk Alternatives
If you only have instant yeast instead of active dry, you might think you’re sunk, but nope! Instant yeast is so easy. You can skip the whole bubbling step entirely. Just whisk your instant yeast directly into the dry ingredients (the flour, salt, and remaining sugar), and then add the tempered milk, eggs, and butter right away. It still needs that long rise time, though!
For the milk, if you need to swap out whole milk, pretty much any other dairy milk will work fine—even lower fat ones. If you go strictly dairy-free, use soy or oat milk, as they have good fat content that helps the dough structure. Just please, don’t use water! Water just won’t give the dough the richness and tenderness that milk provides for these classic treats.
Storage and Make-Ahead Tips for Your Homemade Classic Glazed Doughnuts
Let’s be real: these are best eaten within about two hours of taking them out of the oil. That gorgeous coating of glaze cracks perfectly when they are warm, and the inside is impossibly light. If you have leftovers, try to eat them the same day! If you try to store them in a plastic bag, they get sad and heavy fast.
However, if you are planning ahead—maybe for a big brunch party—we have a great trick for freezing them raw. Seriously, if you plan on making a big batch of breakfast treats, you can make smoothies ahead of time to go with them, like this banana blueberry breakfast smoothie while the dough proofs!
Freezing Dough for Future Homemade Classic Glazed Doughnuts
This is my favorite tip for being prepared! Once you have cut out the shapes (after that second rise—this is important!), you lay them on parchment-lined baking sheets and pop the whole sheet into the freezer until they are solid. Once solid, transfer those frozen rounds into a heavy-duty freezer bag.
When you want doughnuts the next morning, just pull out as many as you need. Let them thaw on the counter while they come to room temperature, usually about an hour, and then fry them exactly as the recipe says. You skip the entire initial rising process, and they still puff up beautifully. Don’t try to freeze them already glazed; that glaze gets weird when frozen and refrozen!
Serving Suggestions to Pair with Homemade Classic Glazed Doughnuts
Because these Homemade Classic Glazed Doughnuts are pure, simple sweetness, you don’t need anything complicated to go with them! They truly shine alongside a strong, hot cup of coffee that cuts through the sugar. Honestly, for me, nothing beats that first bite of warm, glazed heaven with a hot brew. If coffee isn’t your thing, a simple black tea is fantastic too.
If you are looking for something cold and refreshing, especially if you’re making these on a hot weekend morning, you absolutely have to check out some amazing cold coffee recipes. I found a great list of cold coffee drinks recipes that work perfectly alongside a sugary doughnut!
Beverage Pairings
Whenever I make a batch, I always make sure I have a big thermos of fresh coffee ready to go. The bitterness of the coffee is the perfect counterbalance to all that sweet, delicate glaze. It really lets the flavor of the yeast dough shine through instead of competing with it. Keep it simple, keep it warm, and enjoy dipping!
Frequently Asked Questions About Homemade Classic Glazed Doughnuts
I always get questions after people try making yeast doughnuts for the first time. It’s totally normal to have a wobble or two when dealing with yeast dough—it’s not like mixing up a quick cake batter! Here are the things I hear most often in my comments section.
Can I bake these Homemade Classic Glazed Doughnuts instead of frying?
You certainly *can* bake them, but wow, you’re going to miss out on the magic! Baking these yeast doughnuts will result in a texture that’s much closer to a sweet roll or bread, honestly. Frying is what gives you that crisp exterior layer and the light, airy lift in the middle that soaks up the glaze perfectly. Baking is fine for a healthier option, sure, but for the authentic experience, you need that hot oil bath!
Why did my doughnuts not rise properly?
This is almost always a temperature or yeast issue! Did you check your milk temperature before adding the yeast? If it was over 120°F even for a second, it could have killed the yeast before it even started working. Also, check the room you are proofing in; if your kitchen is cold, the dough will take forever, leading you to think it failed. Give it a warm spot—maybe near (but not on!) a warm oven.
How long do these yeast doughnuts stay fresh?
I’m just going to be upfront: they don’t keep well past the day you make them. The beautiful, light texture of these Homemade Classic Glazed Doughnuts starts to deflate and dry out overnight, even when stored in an airtight container. If you have leftovers, you can try warming them for about 10 seconds in the microwave, but truly, these are meant to be enjoyed fresh, while that sweet glaze is still clinging perfectly!
Share Your Homemade Classic Glazed Doughnuts Journey
Okay, now that you’ve gone through the whole process—from proving the yeast to dipping those warm beauties in the glaze—I really, really want to hear about it! Did they turn out light and airy? Did your house smell like heaven all morning?
Please, please leave a comment below and let me know how your adventure making these Homemade Classic Glazed Doughnuts went. Did you stick perfectly to the instructions, or did you sneak in a little extra vanilla in the glaze? I totally won’t judge!
If you’re feeling brave, snap a picture of your batch once that glaze sets up, and tag me on social media! Seeing your success is genuinely the best part of sharing these recipes. Every star rating you leave helps other bakers know they are in good hands with this classic recipe. Happy frying!
Print
Homemade Classic Glazed Doughnuts
- Total Time: 165 min
- Yield: 12 doughnuts 1x
- Diet: Vegetarian
Description
Recipe for making traditional yeast-raised doughnuts with a simple sugar glaze.
Ingredients
- 1 cup warm milk (105-115°F)
- 2 1/4 teaspoons active dry yeast
- 1/4 cup granulated sugar plus 1 teaspoon for yeast
- 1/2 teaspoon salt
- 2 large eggs, lightly beaten
- 1/4 cup unsalted butter, melted
- 3 1/2 to 4 cups all-purpose flour
- Vegetable oil, for frying
- 2 cups powdered sugar for glaze
- 1/4 cup milk for glaze
- 1 teaspoon vanilla extract for glaze
Instructions
- Combine warm milk, 1 teaspoon sugar, and yeast in a large bowl. Let stand 5 to 10 minutes until foamy.
- Stir in the remaining 1/4 cup sugar, salt, eggs, and melted butter into the yeast mixture.
- Gradually add flour, mixing until a soft dough forms. Knead on a lightly floured surface for about 5 minutes until smooth.
- Place dough in a greased bowl, turning to coat. Cover and let rise in a warm place for 1 to 1.5 hours, or until doubled in size.
- Punch down the dough. On a floured surface, roll the dough to 1/2 inch thickness. Cut out doughnuts using a cutter. Reroll scraps and cut.
- Place cut doughnuts on parchment-lined baking sheets. Cover loosely and let rise again for 30 to 45 minutes.
- Heat vegetable oil in a deep pot to 360°F. Fry doughnuts in batches for 1 to 2 minutes per side, until golden brown.
- Remove doughnuts with a slotted spoon and place on a wire rack over paper towels to drain excess oil.
- For the glaze, whisk together powdered sugar, 1/4 cup milk, and vanilla extract until smooth.
- Dip the warm doughnuts into the glaze, coating both sides. Place back on the wire rack to set the glaze.
Notes
- Maintain the oil temperature between 350°F and 375°F for proper cooking.
- If the glaze is too thick, add milk one teaspoon at a time.
- Doughnuts are best eaten the day they are made.
- Prep Time: 45 min
- Cook Time: 20 min
- Category: Dessert
- Method: Frying
- Cuisine: American
Nutrition
- Serving Size: 1 doughnut
- Calories: 250
- Sugar: 25g
- Sodium: 150mg
- Fat: 14g
- Saturated Fat: 4g
- Unsaturated Fat: 10g
- Trans Fat: 0g
- Carbohydrates: 30g
- Fiber: 1g
- Protein: 4g
- Cholesterol: 30mg
Keywords: doughnuts, glazed, fried, yeast, sweet bread, breakfast