
Oh my gosh, if you are anything like me, you are constantly searching for that perfect, satisfying crunch in a snack that doesn’t involve a deep fryer! Don’t you just crave that salty, earthy bite that keeps you coming back for more? Well, stop looking, because I finally nailed it. This recipe, **The Best Roasted Chickpeas**, is pure magic, turning a humble can of legumes into the crispiest snack imaginable. I’m talking snap-crackle-pop texture here, no joke! I learned the hard way that you can load up on spices and still get soggy results if you skip one tiny (but crucial!) step. Do you remember that batch I made last month that tasted great but was soft by morning? That was because I rushed the drying part. Now, I dedicate a good five minutes just patting them dry. Trust me, that dedication to dryness is the secret sauce that makes these the absolute **best**.

Why You Will Love The Best Roasted Chickpeas
After years of testing, I can say these chickpeas are just unbeatable. Here’s why they’ve earned the top spot on my snack rotation:
- They are unbelievably crispy—seriously, almost chip-like!
- Prep takes practically no time, maybe five minutes tops.
- They’re a fantastic, healthier alternative to chips or crackers.
- You can season them exactly how you like, which keeps things exciting.
Essential Ingredients for The Best Roasted Chickpeas
Okay, you don’t need a wild pantry raid for this recipe, thank goodness! The beauty of **The Best Roasted Chickpeas** lies in its minimalism. You start with just one can of chickpeas—make sure they are rinsed really well and then patted bone dry. That drying step is everything, remember?
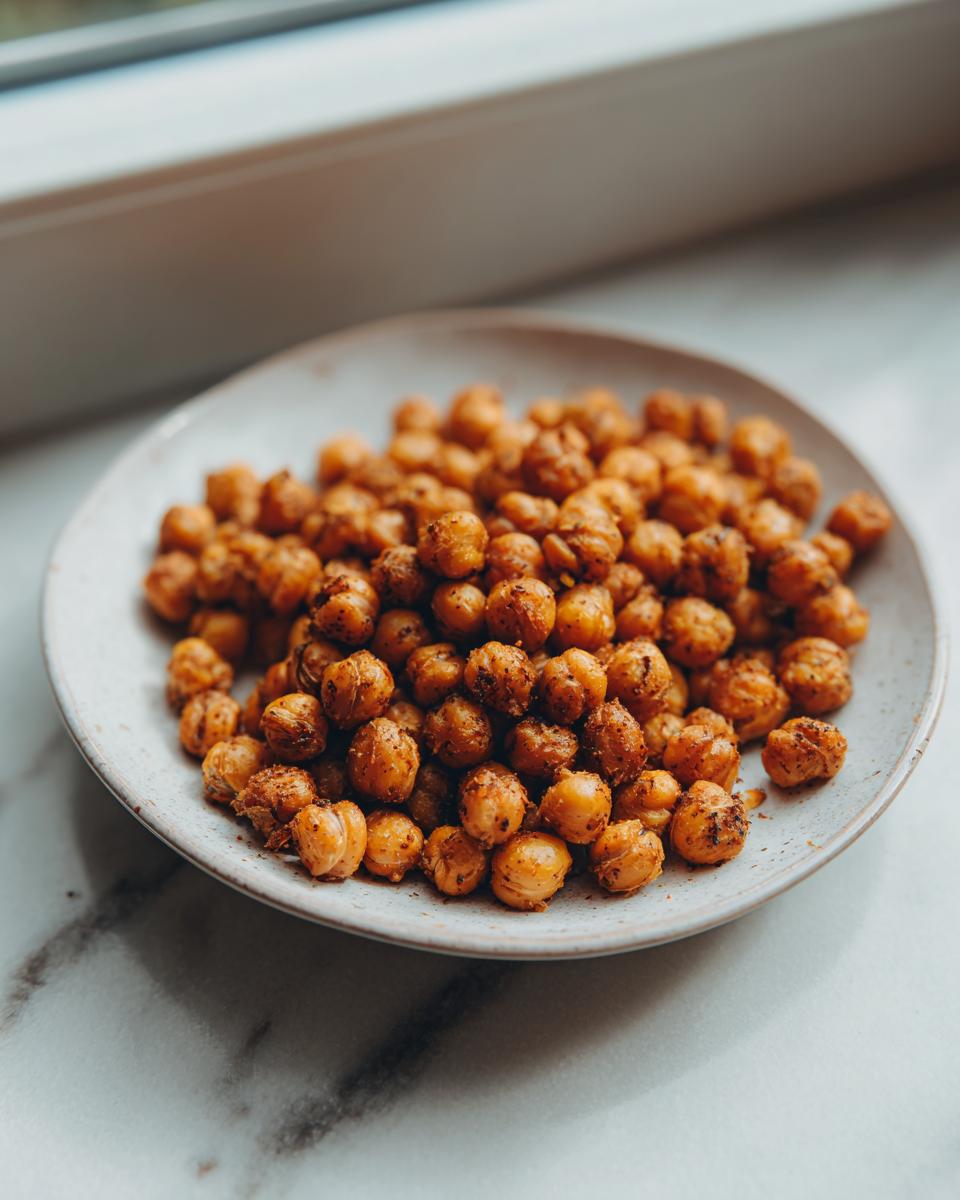
You just need a touch of olive oil to help everything stick and crisp up beautifully. Then we hit it with the baseline seasoning: simple salt, some freshly cracked black pepper, and a hearty dusting of paprika. That paprika gives them that gorgeous color!
Equipment Needed for Making The Best Roasted Chickpeas
You truly don’t need anything fancy here, which is awesome! For this recipe, grab a standard mixing bowl to toss everything together in. You’ll also need a good, rimmed baking sheet to spread them out.
And one more thing—make sure you have some paper towels or, even better, a clean kitchen towel handy. That drying step demands some good absorbent material!
Step-by-Step Instructions for The Best Roasted Chickpeas
Alright, this is where the magic happens! It’s super straightforward, but you can’t rush the first part, or your payoff won’t be as crispy as you want. Think of this as a little kitchen science experiment where heat versus moisture is the main event.
Once you’ve got your chickpeas ready, the actual mixing part takes maybe three minutes. Then they go right into the oven. It’s a low-effort, high-reward situation, honestly. If you want to see how other simple kitchen tasks can go sideways without the right prep, check out this neat little guide on the biggest mistake people make with iced tea—it reminds me that even easy recipes need attention to the details!
Preparation and Seasoning for Crispy Chickpeas
First things first: crank up that oven to 400 degrees. Don’t cheat this step; we need that high heat to evaporate every drop of water! Then, take those rinsed chickpeas and dry them until you think you can’t possibly dry them anymore. I usually use a dedicated dish towel and just rub them around until the towel feels dry again. Why? Because moisture turns into steam in the oven, and steam equals soft legumes. We want *crispy* roasted chickpeas, not steamy ones!
Once they are completely dry, toss them right into the bowl with your olive oil, salt, pepper, and paprika. Make sure every single little bean is coated evenly before moving on.
Roasting The Best Roasted Chickpeas to Perfection
Now, spread those seasoned guys out on your baking sheet. Single layer only! If they overlap, they’ll steam each other, and we are back to square one with mushy results. Slide them into that hot oven for about 20 to 30 minutes total. I usually set my timer for 15 minutes, pull the pan out, give it a good shake—make sure they tumble around—and then pop them back in.
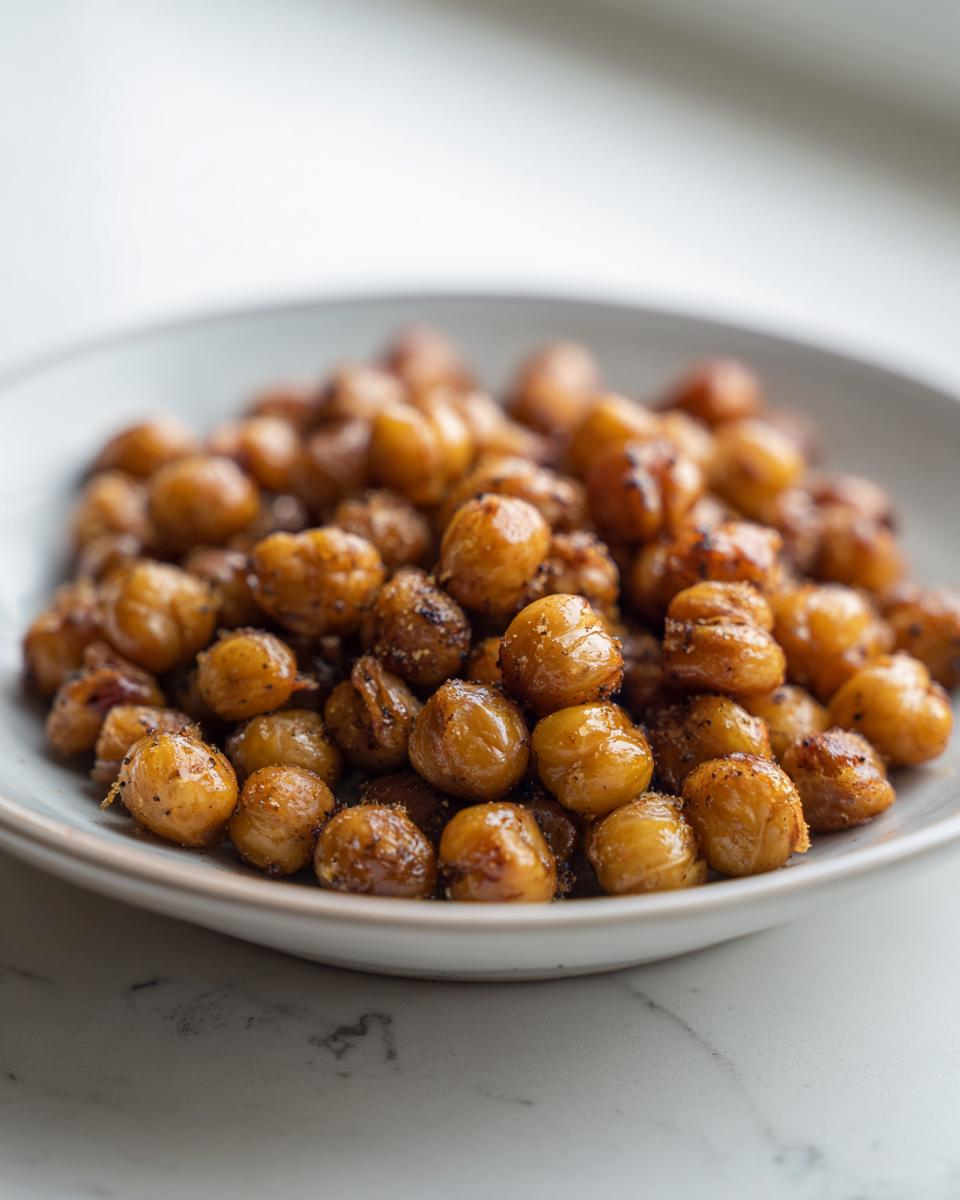
You are looking for that beautiful, golden-brown color development. When they start smelling nutty and look slightly cracked on the outside, they’re done! They will feel hard when you tap them, not squishy at all. Let them cool just a minute or two before diving in!

Tips for Achieving Ultra-Crispy The Best Roasted Chickpeas
You’ve done the drying magic and got the initial roast done, but maybe you want them to have that extra *oomph*—that audible crunch that rivals any store-bought snack? I hear you! For real next-level crispiness, you absolutely must try baking them for an extra five minutes past the initial time.
Seriously, don’t panic about burning them; keep an eye on them, but that extra short blast of heat dehydrates them just a bit more. This is my little secret move that signals I’m serious about **The Best Roasted Chickpeas**. Another thing that helps? Make sure your baking sheet isn’t too crowded. A single layer means every chickpea gets direct contact with that hot metal, which really helps them crisp up on the bottom, too.
And please, let them cool completely on the pan after they come out of the oven. They firm up so much as they cool down. If you eat them piping hot, they’ll seem slightly softer. Patience, my friends, patience yields that perfect crunch!
Flavor Variations for Your Roasted Chickpeas
The basic paprika and salt combo is fantastic, I won’t lie, but roasted chickpeas beg for experimentation! Once you master the basic crisp, you can go wild with flavors. Don’t forget using up those spices you already have sitting around.
If you want a savory upgrade, definitely swap out some of that paprika for garlic powder or cumin. They blend so well with that little bit of olive oil. For the spice lovers out there, I highly recommend a chili-lime vibe. Just mix in some chili powder and a tiny bit of onion powder, and then give them a final spritz of fresh lime juice once they come out of the oven.
Another favorite here is my curry blend. It’s just a teaspoon of mild curry powder mixed with a pinch of turmeric for color. Wow, the smell alone is incredible when those hit the oven heat. You can also try making a sweet batch sometime—just skip the salt and use cinnamon and a touch of sugar before roasting!
Serving Suggestions for The Best Roasted Chickpeas
So, you have this perfect batch of crunchy, savory legumes chilling on the counter—now what? Honestly, my favorite way is just grabbing a handful straight from the pan while they’re still warm, but they are so versatile!
They make an incredible, crunchy topping for any green salad instead of croutons. I also love crumbling them a bit over creamy soups—like tomato or butternut squash—to add that textural contrast. You can even dip them in hummus or baba ghanoush if you want a double-bean situation!
If you’re looking for inspiration on using chickpeas in a different, less crispy way, you should check out this guide for a super quick chickpea salad recipe. But for these crunchy guys? They are perfect all on their own!
Storage and Reheating Instructions for Crispy Chickpeas
If you manage to have any of **The Best Roasted Chickpeas** left over—which is a serious achievement, by the way—storage is key to keeping that crunch alive. Forget plastic bags; they trap moisture! Always use a rigid, airtight container. I like popping a small paper towel in the bottom of the container first. That little piece of paper acts like a sponge for any stray moisture.
Even with the best storage, they might soften up the next day. Don’t worry! You can bring them right back to life. Just spread them back out in a single layer on your baking sheet and pop them into a 350-degree oven for about five minutes. Seriously, five minutes is usually all it takes to toast them back up to perfect crispiness!
Frequently Asked Questions About The Best Roasted Chickpeas
I always get questions about these little guys, especially since everyone wants that ultimate crunch factor! If you’ve got last-minute doubts before you throw them in the oven, check these answers out. I promise, once you get the hang of the prep, you’ll never look back.
If you’re already thinking about what other great snacks you can whip up easily, you might want to check out these no-bake cheesecake recipes for dessert!
Can I skip drying the chickpeas?
Oh, please don’t even consider it! If you skip drying, you are guaranteeing soft, steamed chickpeas, and that defeats the whole purpose of making **The Best Roasted Chickpeas**. Seriously, taking the time to dry them thoroughly is the absolute most critical step to getting that satisfying snap.
How long do these crispy chickpeas last?
If you store them correctly—airtight, maybe with a paper towel absorber—they stay wonderfully crunchy for about three to five days. After that, they start to yield a little to humidity, but they’re still good to eat! They just might need a quick five-minute trip back to the oven to refresh that crispiness.
Can I roast canned chickpeas without oil?
You technically *can* try it, but I wouldn’t recommend it if you are aiming for the best flavor and texture. The olive oil is what helps your seasonings (like that paprika!) cling evenly to the surface. Without it, things tend to taste dusty, and the browning won’t be as consistent.
Print
The Best Roasted Chickpeas
- Total Time: 30 min
- Yield: 2 servings 1x
- Diet: Vegetarian
Description
A simple recipe for making crispy roasted chickpeas.
Ingredients
- 1 (15-ounce) can chickpeas, rinsed and drained
- 1 tablespoon olive oil
- 1/2 teaspoon salt
- 1/4 teaspoon black pepper
- 1/2 teaspoon paprika
Instructions
- Preheat your oven to 400 degrees Fahrenheit (200 degrees Celsius).
- Dry the rinsed chickpeas thoroughly with a clean kitchen towel or paper towels. Remove any loose skins.
- In a medium bowl, toss the dried chickpeas with olive oil, salt, pepper, and paprika until evenly coated.
- Spread the chickpeas in a single layer on a baking sheet.
- Roast for 20 to 30 minutes, shaking the pan halfway through, until they are golden brown and crispy.
- Remove from the oven and let cool slightly before serving.
Notes
- For extra crispiness, you can bake them for an additional 5 minutes.
- You can substitute the spices with your preferred seasonings, such as garlic powder or cumin.
- Prep Time: 5 min
- Cook Time: 25 min
- Category: Snack
- Method: Baking
- Cuisine: American
Nutrition
- Serving Size: 1/2 cup
- Calories: 150
- Sugar: 2
- Sodium: 300
- Fat: 5
- Saturated Fat: 1
- Unsaturated Fat: 4
- Trans Fat: 0
- Carbohydrates: 23
- Fiber: 6
- Protein: 7
- Cholesterol: 0
Keywords: roasted chickpeas, crispy chickpeas, snack, baked legumes, healthy snack